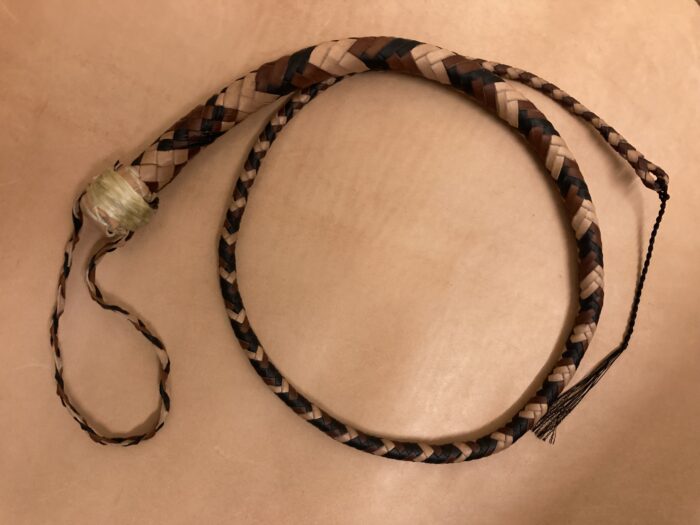
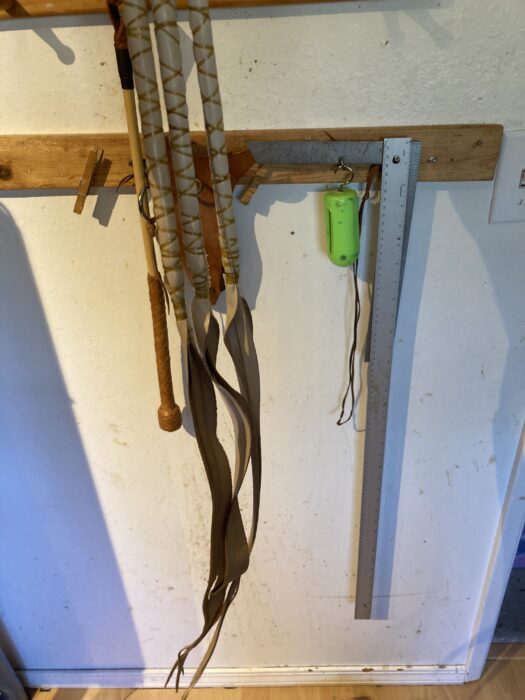
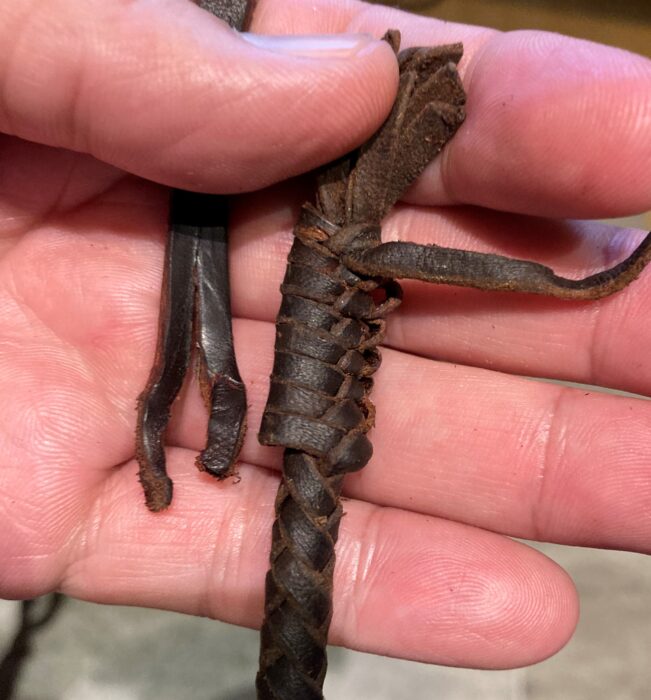
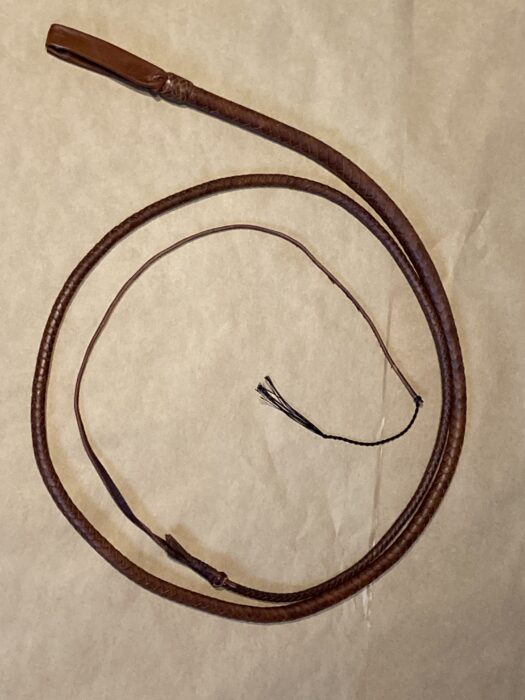
This single tail whip has a removable/replaceable cracker
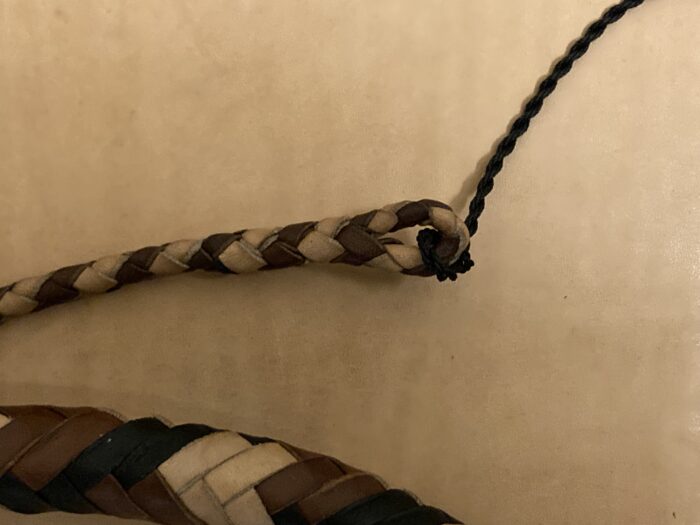
The end of the whip h as a 4 plait point that’s back braided on itself to form a loop for the cracker. You could also put in a slapper to make it like a quirt.
I’ve got six whips to make, three stock whips and three bullwhips. All of them are going to be made from veg tanned drum stuffed kangaroo in natural tan color.
The three bullwhips are going to be more labor than the stockwhips, so I’m getting started on those first.
Hoping to bust my butt and get all six whips done in a couple of days. -Louie
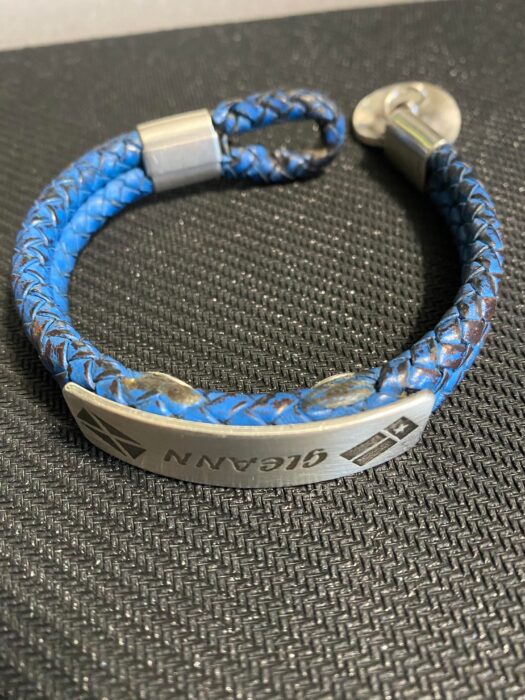
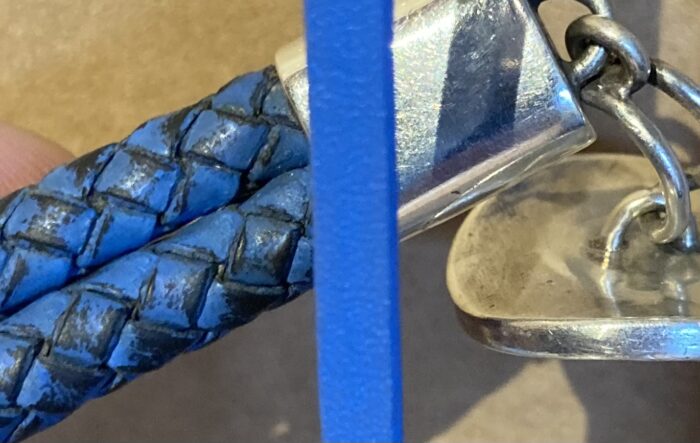
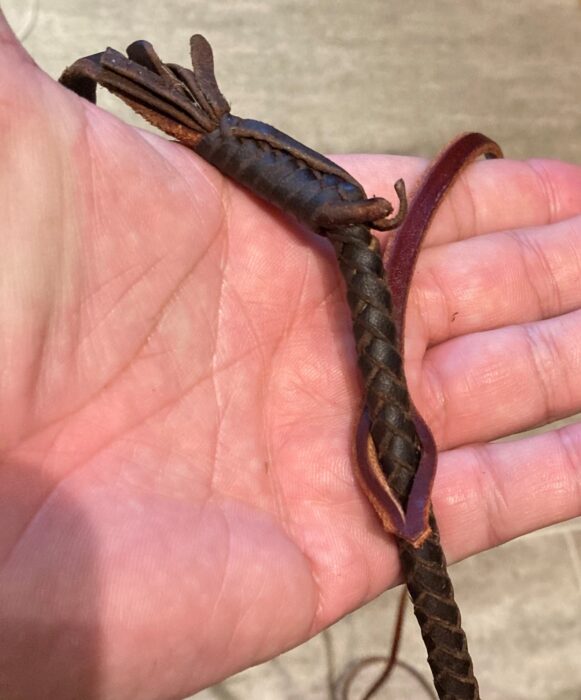
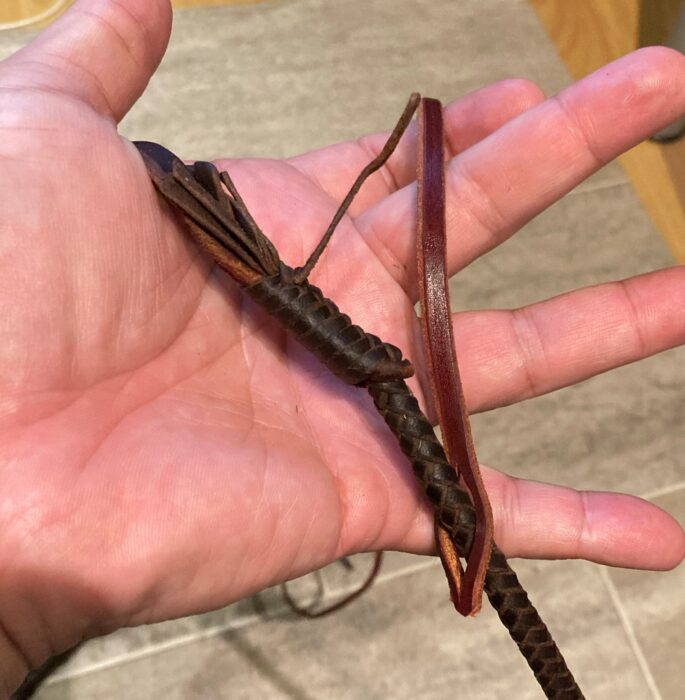
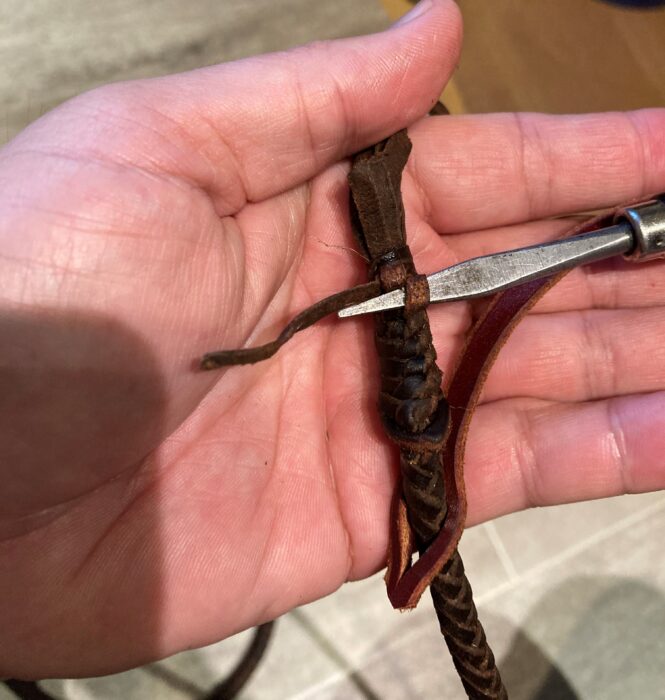
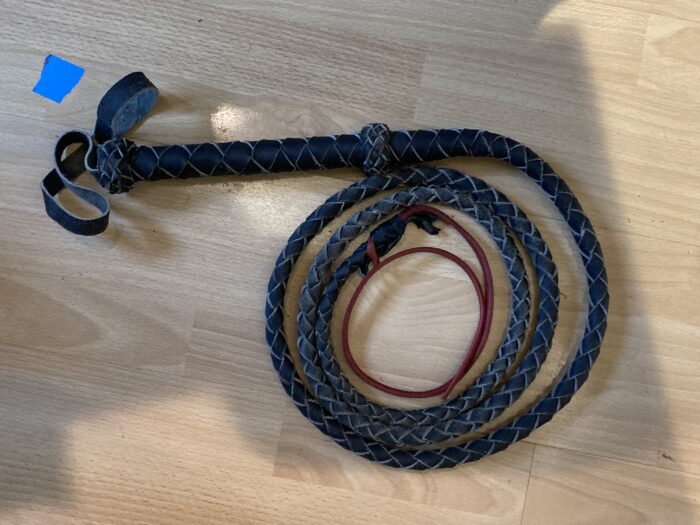
A little bit ago I got a request to fix the braided part of a bracelet. Here’s the pic that I was sent:
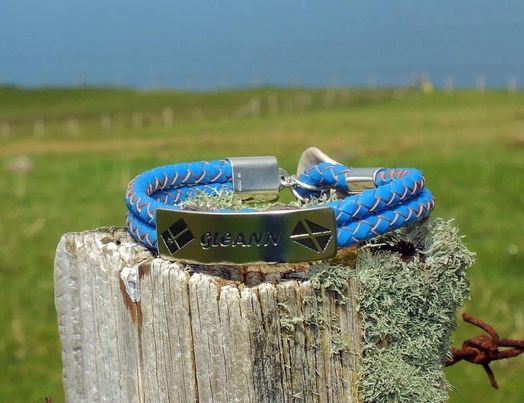
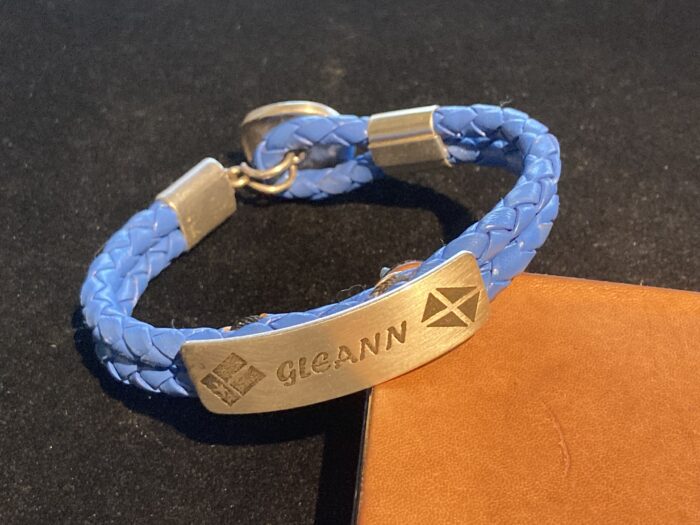
The wanted the 4 plait part replaced and the color hopefully matched with the original color. Here’s a pic of the bracelet when it was new:
The leather on that was glazed and by that I mean it has a coating of blue on top of the grain side of leather. For me to get that color in a decent material, I would need to either get lucky and find the color at one of my local leather suppliers, dye or paint the leather.
My trip out to look for something premade, I struck out and to dye it, I really wouldn’t get that color of blue. That left me with painting as the only real option to color it. Painting and dying leather is a pain, you need to give the leather a hit of deglazer, paint/dye it, then seal it.
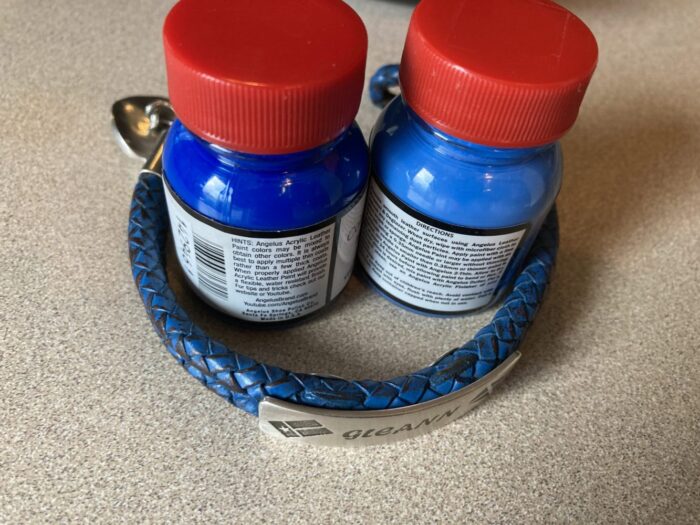
I picked up two colors of blue and between the two I figured I could get pretty close to the original color.
Lucky for me the owner of the bracelet said the lighter blue straight out of the jar was what he wanted. I think the color came out pretty well after cutting the lace, doing all the strand prep and then completing the painting process.
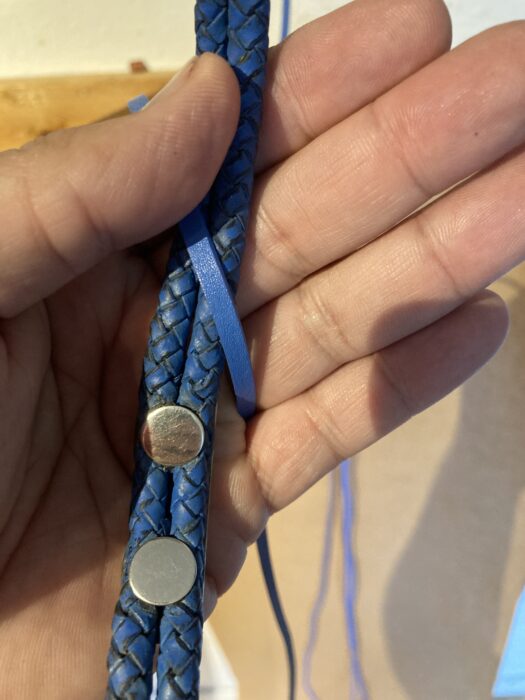
Here’s the finished product bracelet:
In the end this is a better product as it’s a higher quality leather as I used kangaroo. Also the painted leather that should hold it’s color better than the previous glazed leather.
This was a fun project as it’s slightly outside of what I normally do.
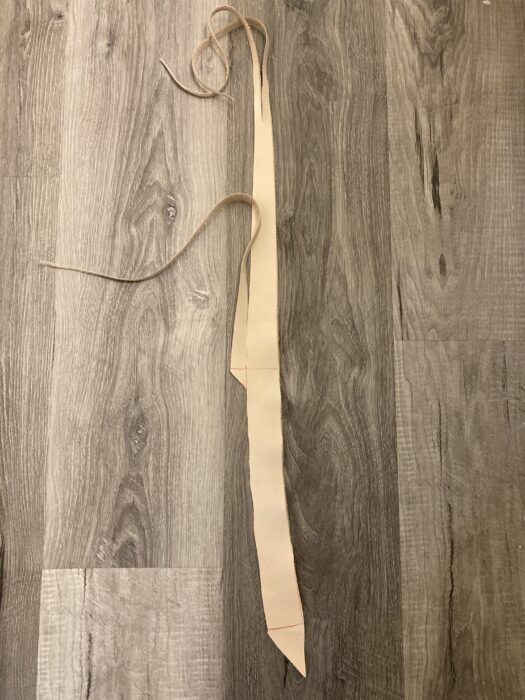
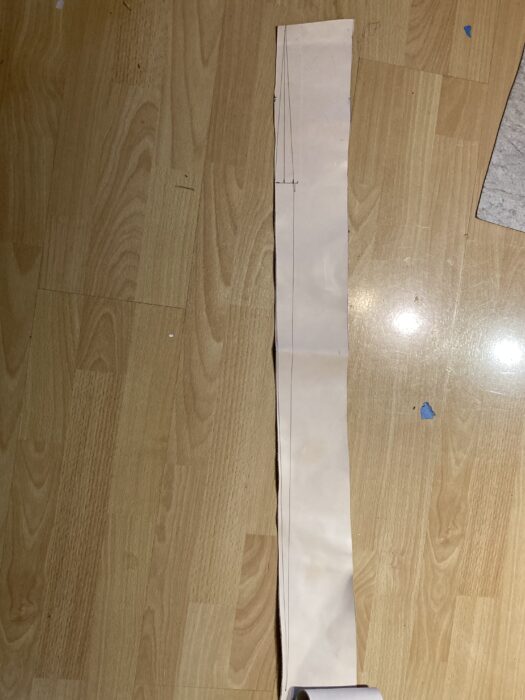
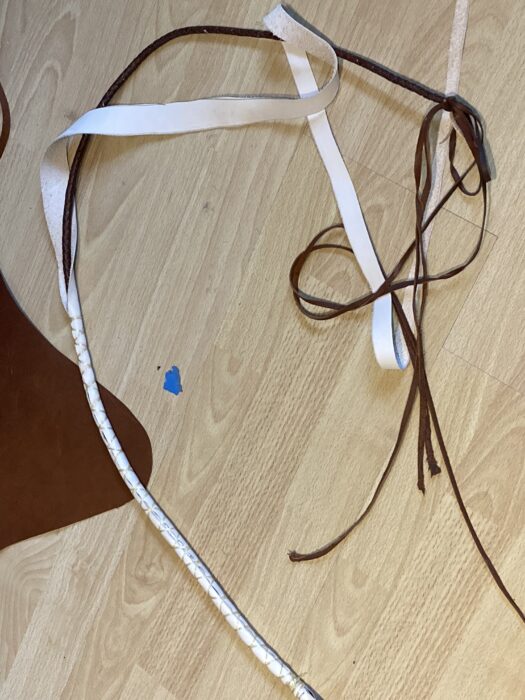
The person who ordered the hunt whip thong from me a bit ago liked it and just ordered another one. This one is five feet long, where the previous one was six feet. Here’s the core before it’s cut out:
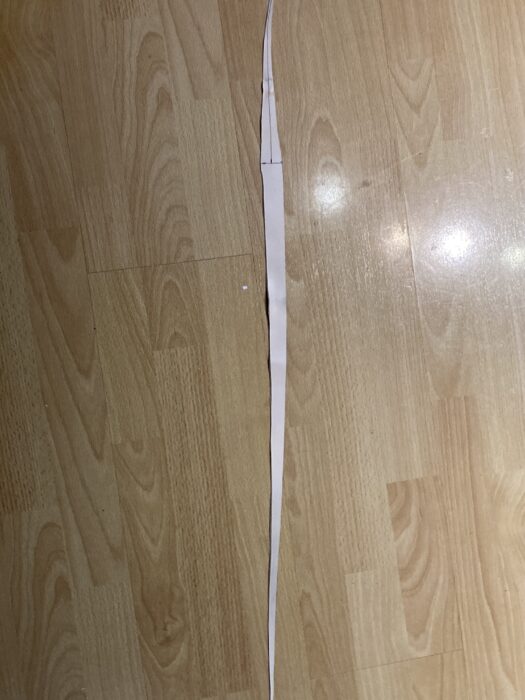
And the core after it’s cut out:
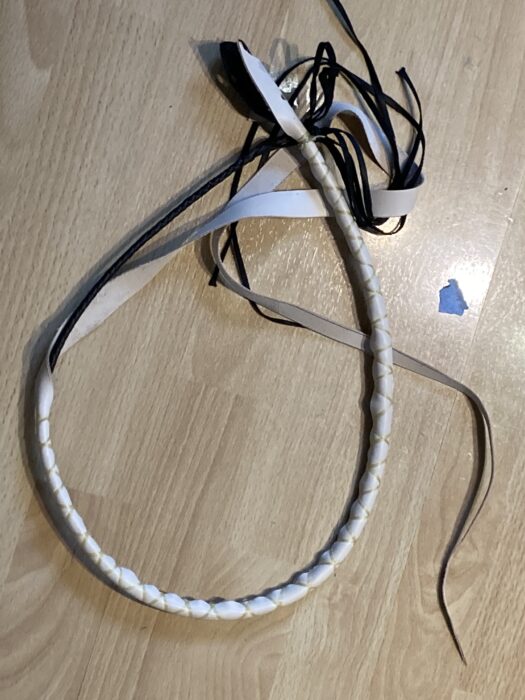
This whip will have a little bit of a swell belly, so you can see that in the core’s shape. Here’s the completed interior layers:
Finally work get started on the outside:
This whip will have an 8 plait whiskey colored kangaroo overlay:
I’m glad the customer liked the first one enough to order a second one!
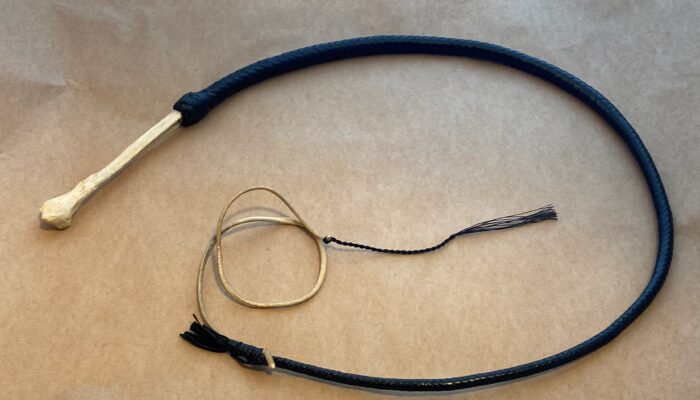
For about a decade I’ve wanted to make a bullwhip that had a human bone for a handle. A while ago I found a fibula that would be perfect for the handle of a short bullwhip. This whip internally has a core, bolster and plaited belly.
Here’s the overlay:
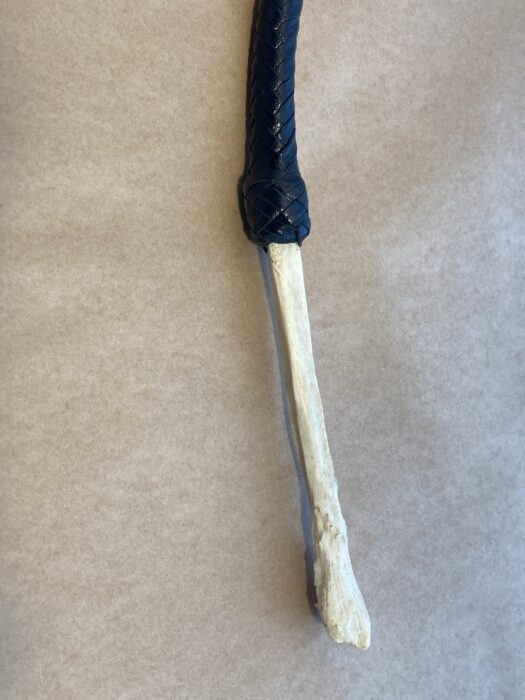
I started braiding in the middle of the bone handle so that I could get the plaiting nice and tight where it was going to start on the finished whip. I also lashed it down tightly with string.
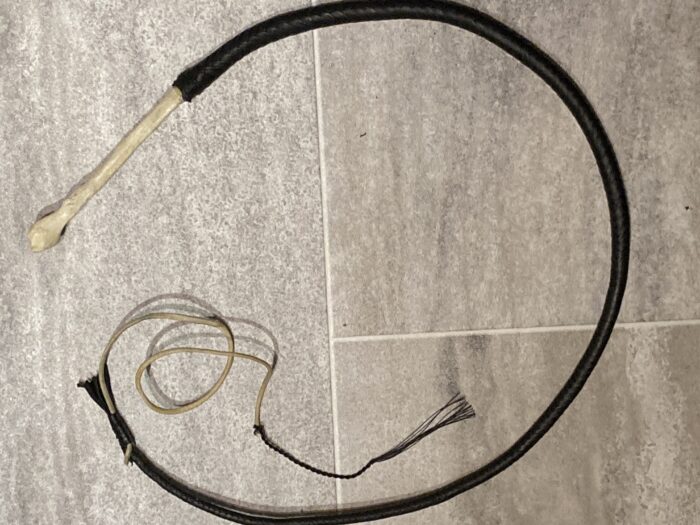
And here’s the finished whip:
Here’s a close up of the handle:
This whip has a great crack and I think it’s a cool functional piece of art!
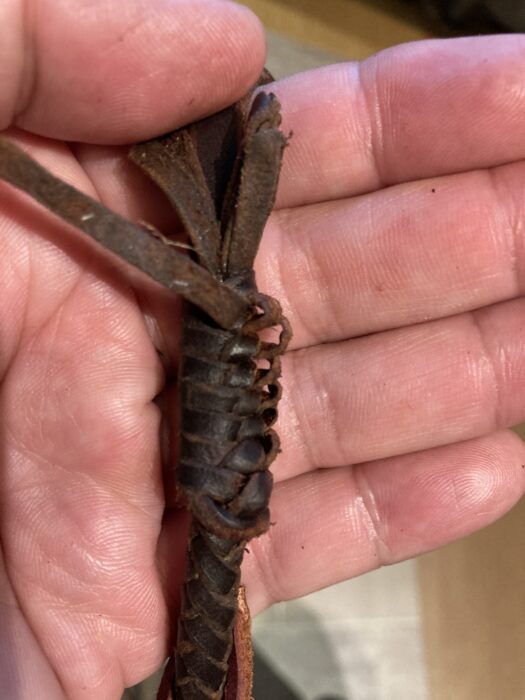
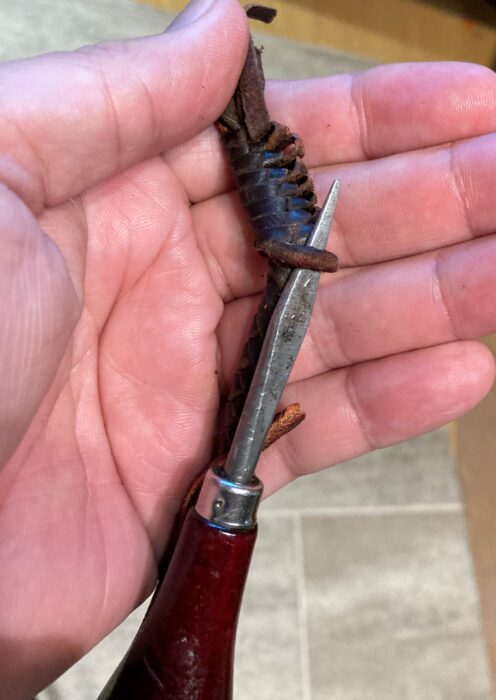
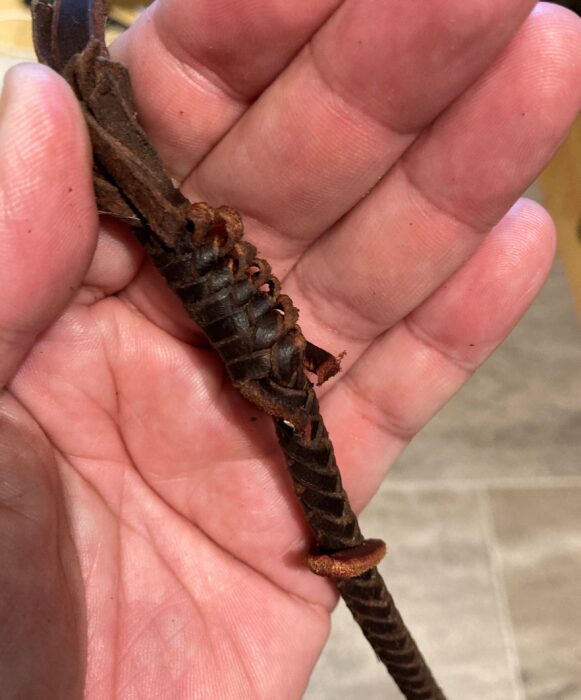
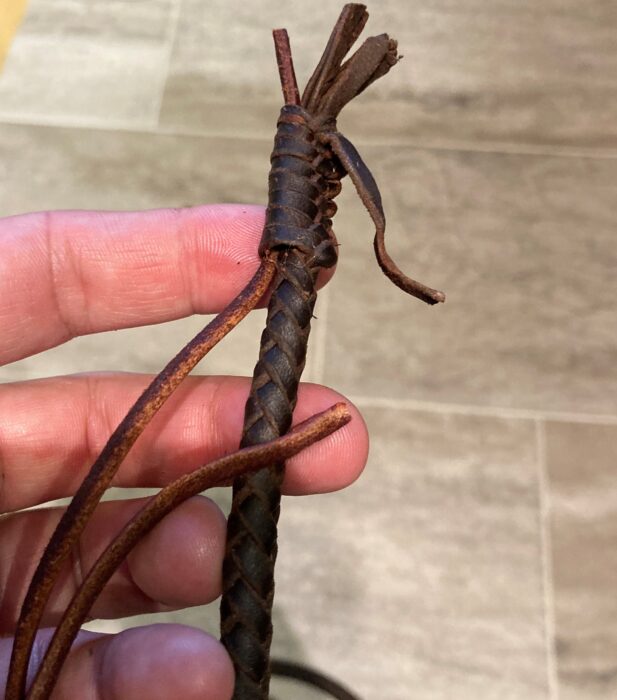
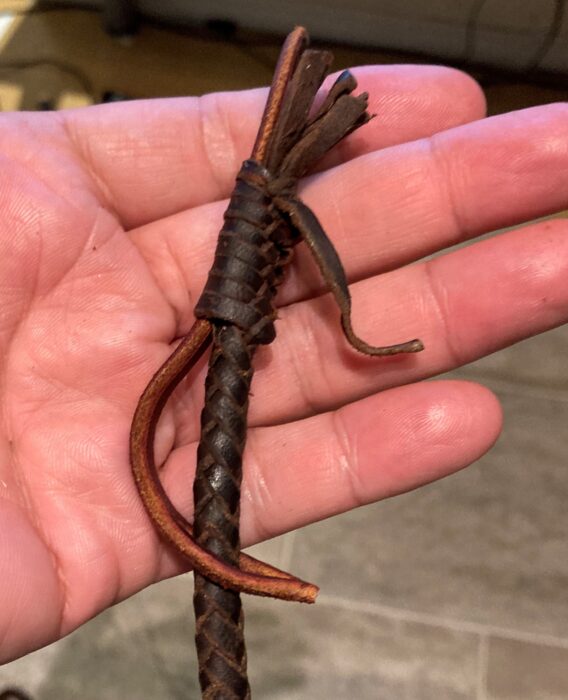
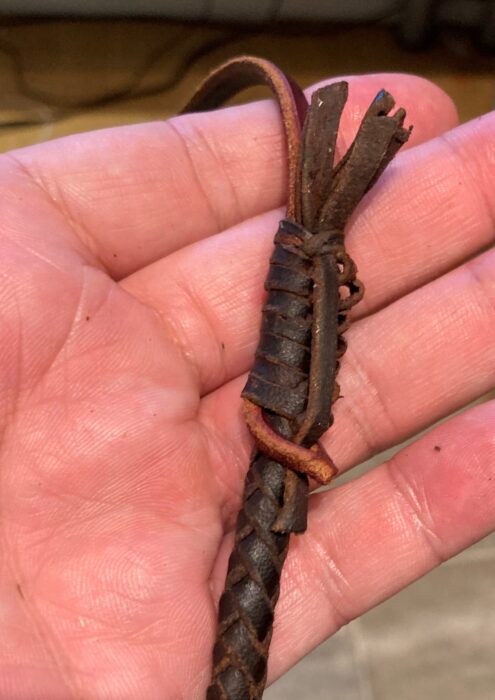
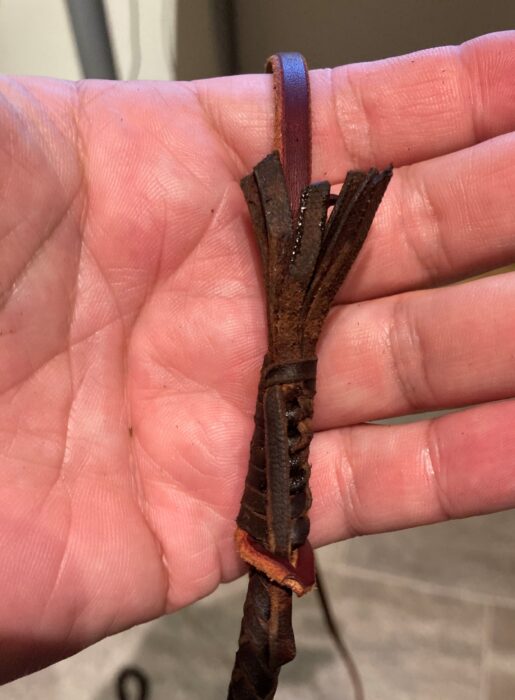
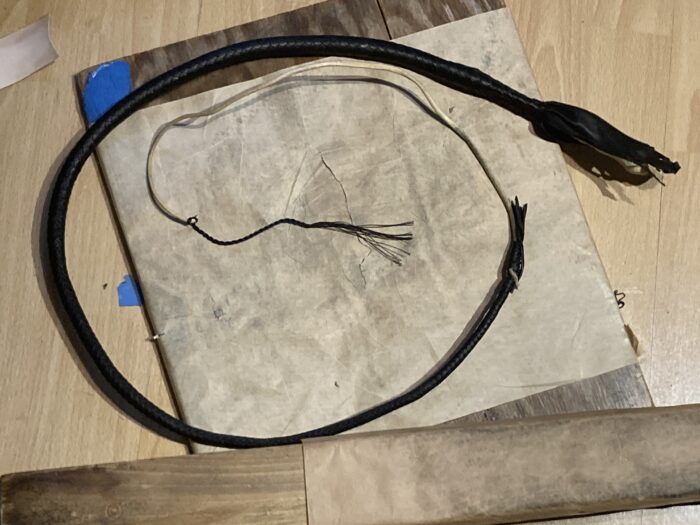
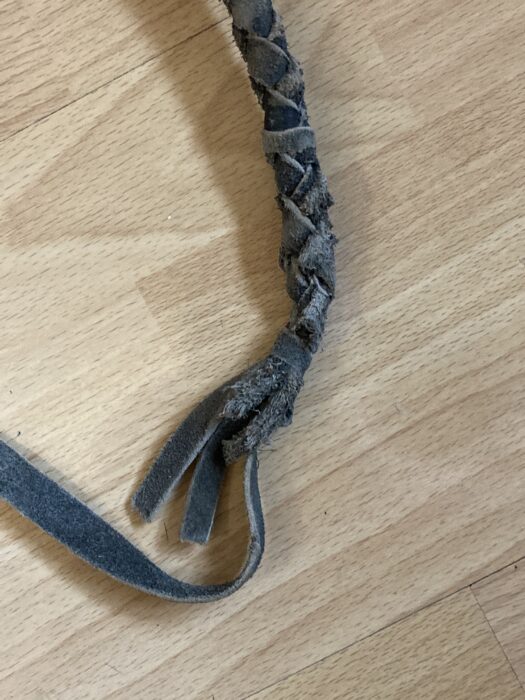
Another whip came in for a new fall. After a quick look at it, it also needed the point replaited. At some point this whip’s fall hitch had come undone and it someone retied the end of the whip poorly.
Here’s a close up of the end:
This is one of the cheap-o whips, where what it cost for me to replait the point and put a new fall on would cost about the same as buying a new whip. The owner said it has sentimental value, and wanted to proceed with the repair.
This was a fun project because it’s not what I normally make. It’s a lash for a hunt whip! The customer had been trying to replicate a lash that they already had, after checking out some pictures and getting some measurements, I got started.
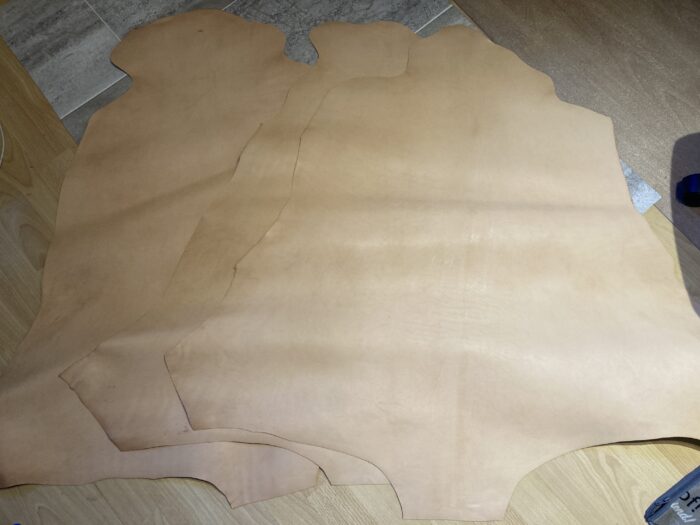
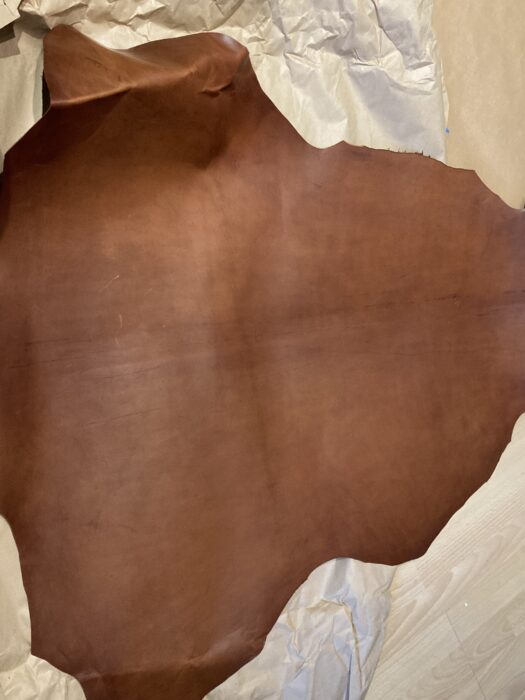
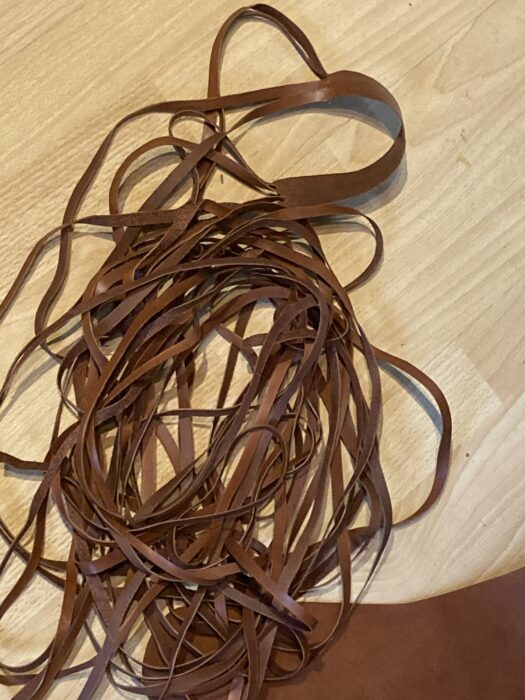
The first step was ordering some whiskey colored veg tanned kangaroo from David Morgan.
Then I cut out the core, plaited they belly and added a bolster to it. Here are the finished internal layers:
After that I cut out the set for the overlay. This is going to be 8 plait.
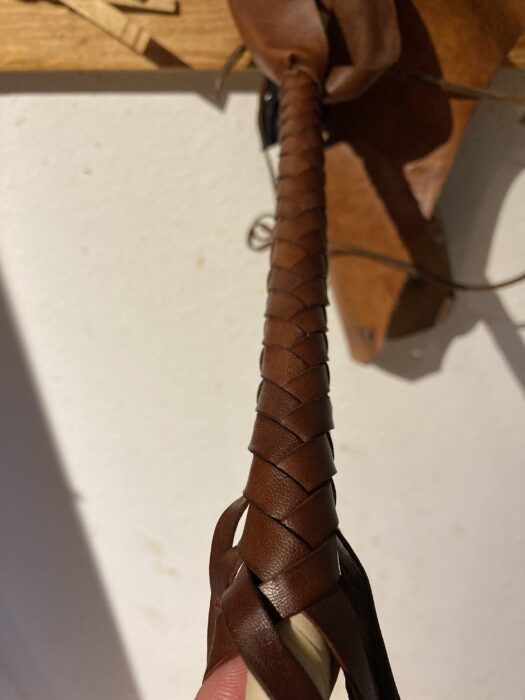
Next I had to do all the strand prep, so stretching and paring the lace and then I started to plait the overlay.
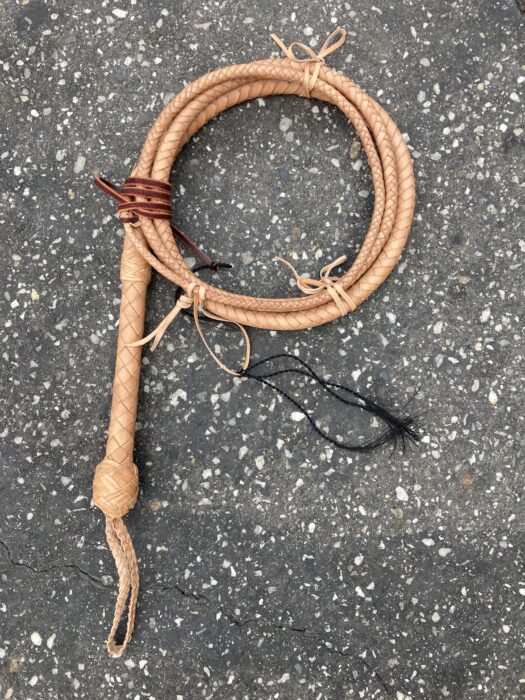
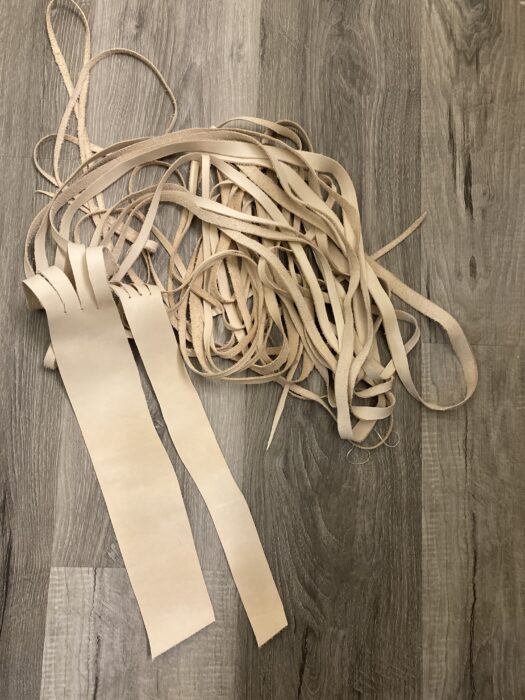
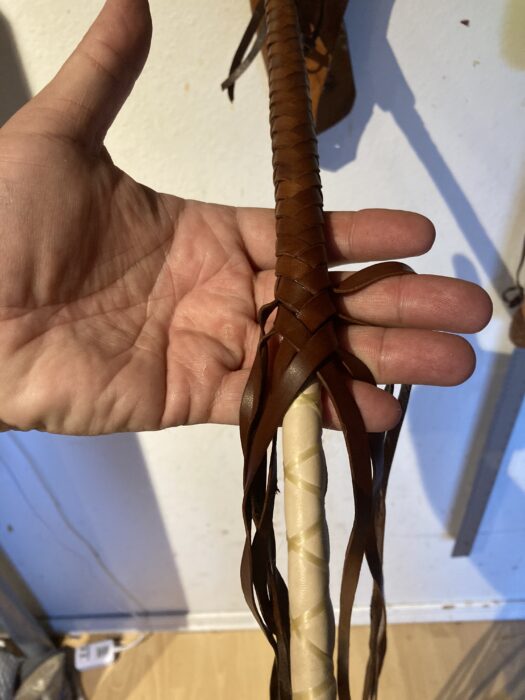
And here’s the finished hunt whip thong:
I like the way it came out, and it’s got a nice crack to it!