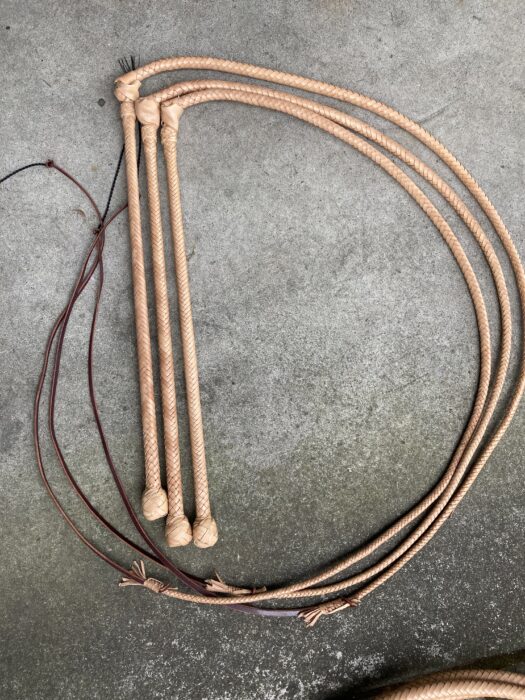
I finished the six whips, and my hands are sore! They came out great, here are the stock whips:
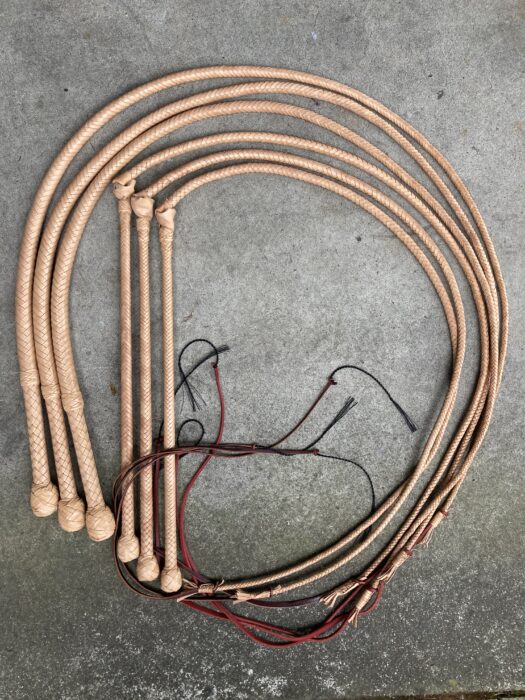
And here’s all six of the whips:
It always amazes me how much time is saves to make things production line style. Cutting out three of every thing at the same time and doing the same physical action three times in a row really make a project like this go quickly.
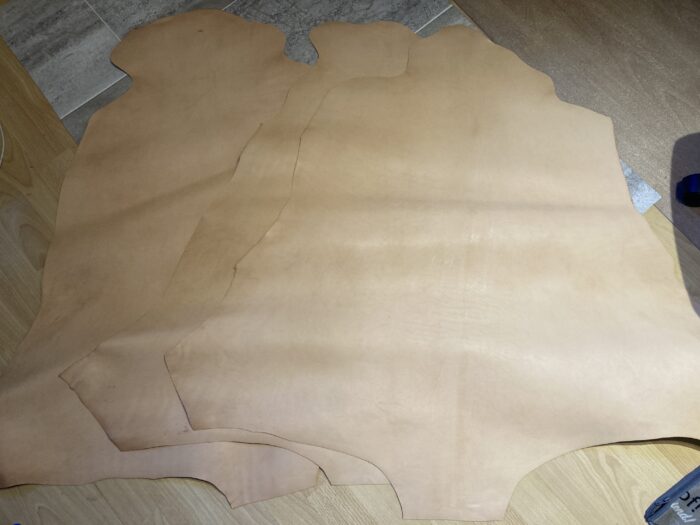
I’ve got six whips to make, three stock whips and three bullwhips. All of them are going to be made from veg tanned drum stuffed kangaroo in natural tan color.
The three bullwhips are going to be more labor than the stockwhips, so I’m getting started on those first.
Hoping to bust my butt and get all six whips done in a couple of days. -Louie
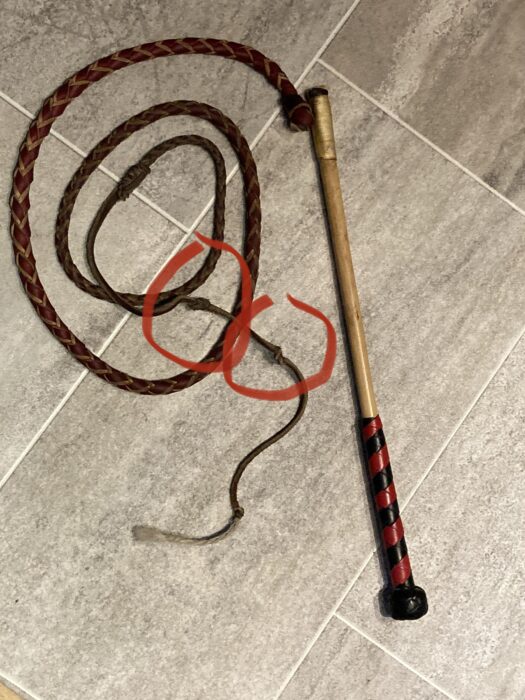
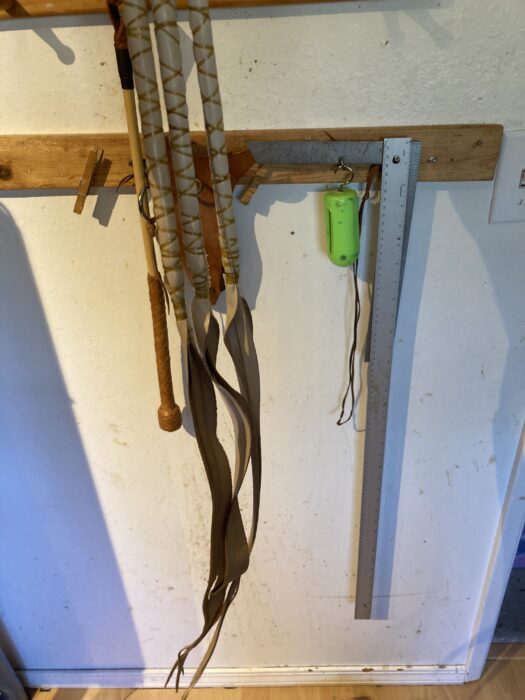
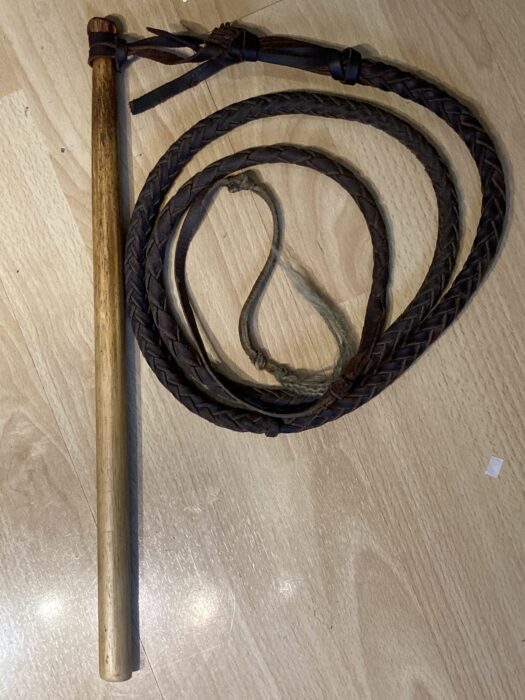
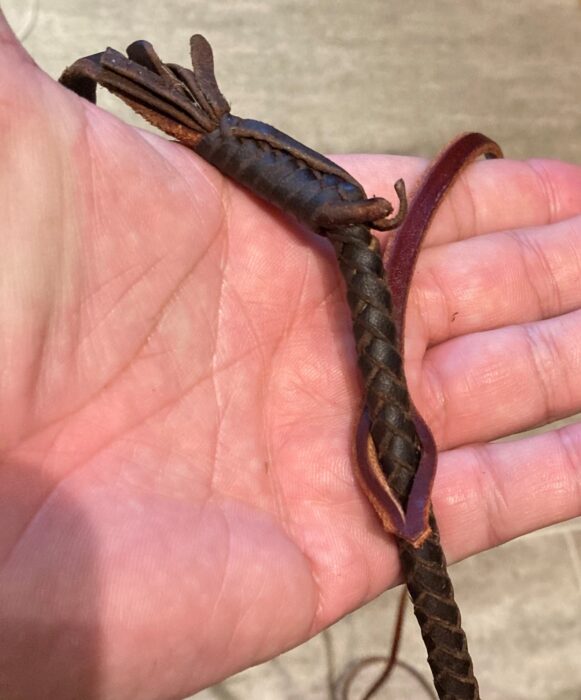
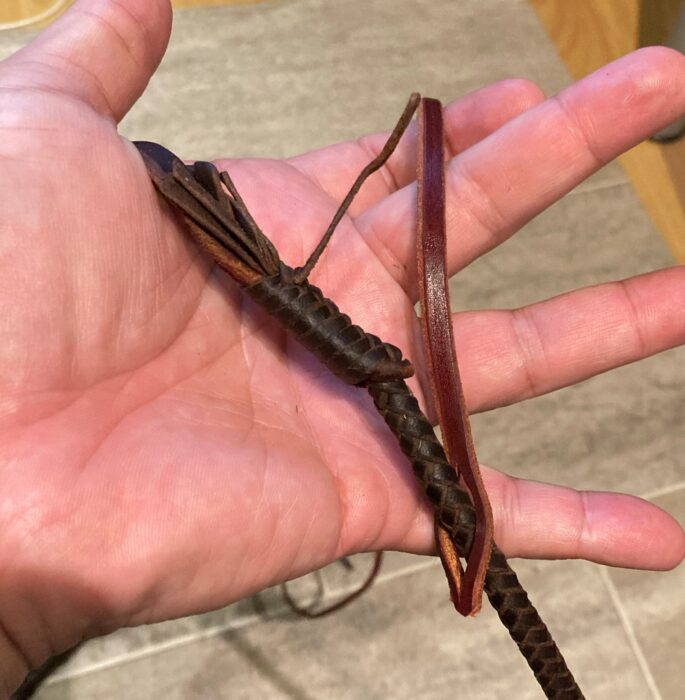
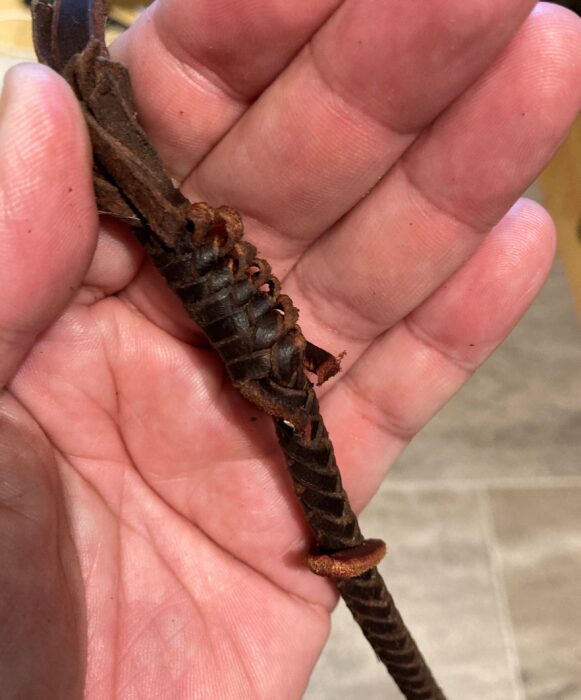
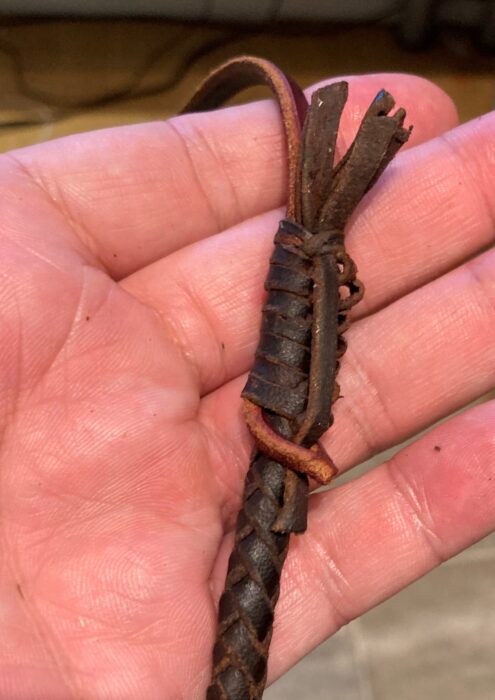
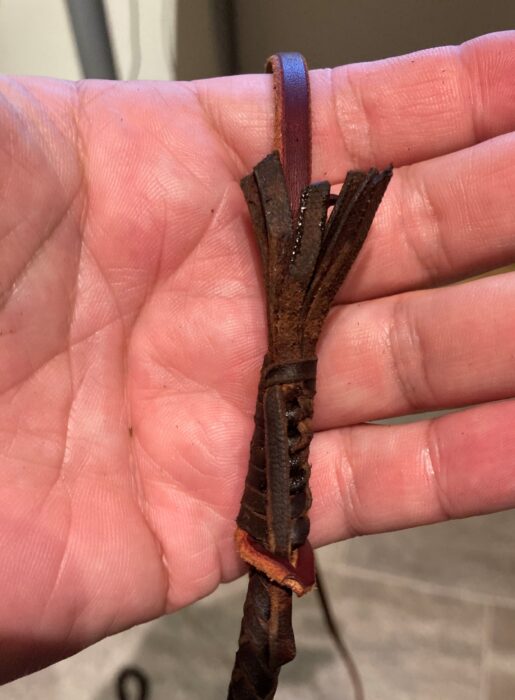
This was a fun whip repair that came in! This stock whip’s leather keeper had broken and it’s owner did a quick self repair by tying a knot to make it semi functional.
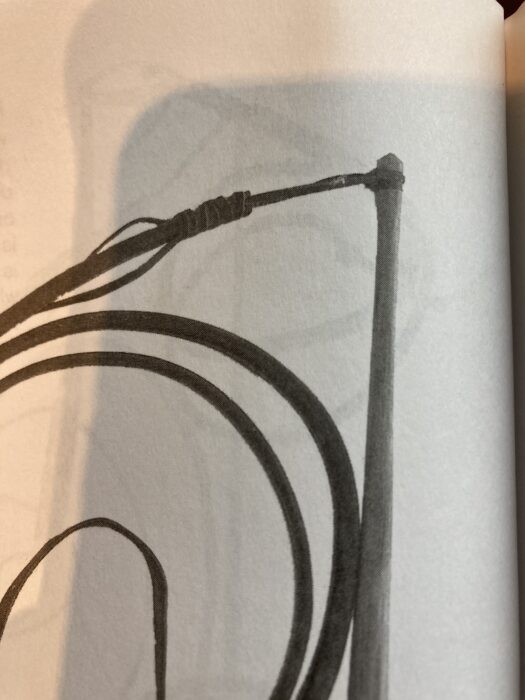
When I was contacted, I asked if they had a picture of it before it was broken so that I could try to match what it previously had, and unfortunately they didn’t. I did a little bit of research and found some samples of what I thought it might have looked like before and this is one the owner thought looked the closest.
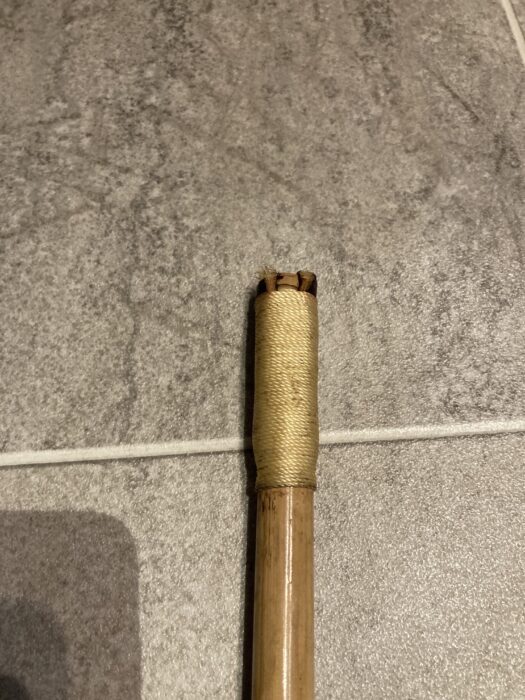
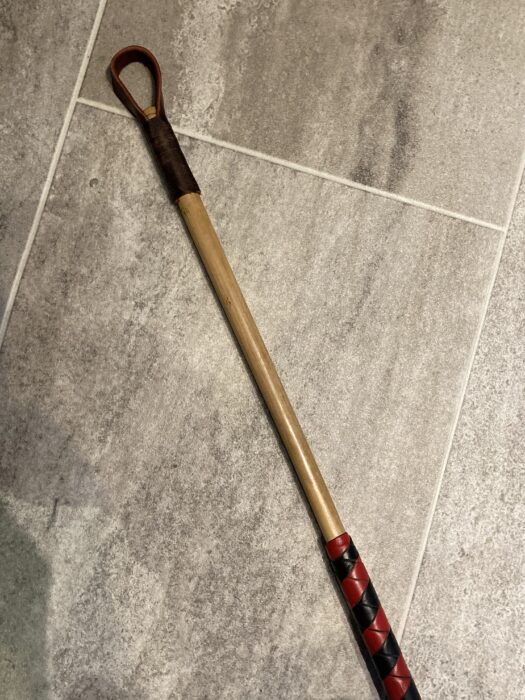
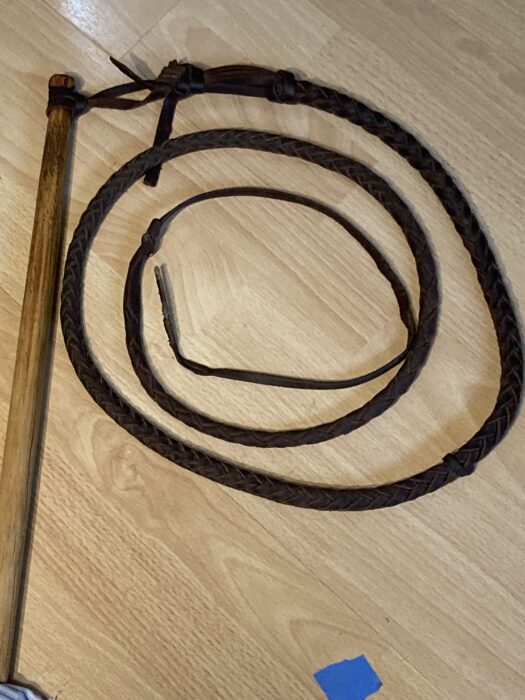
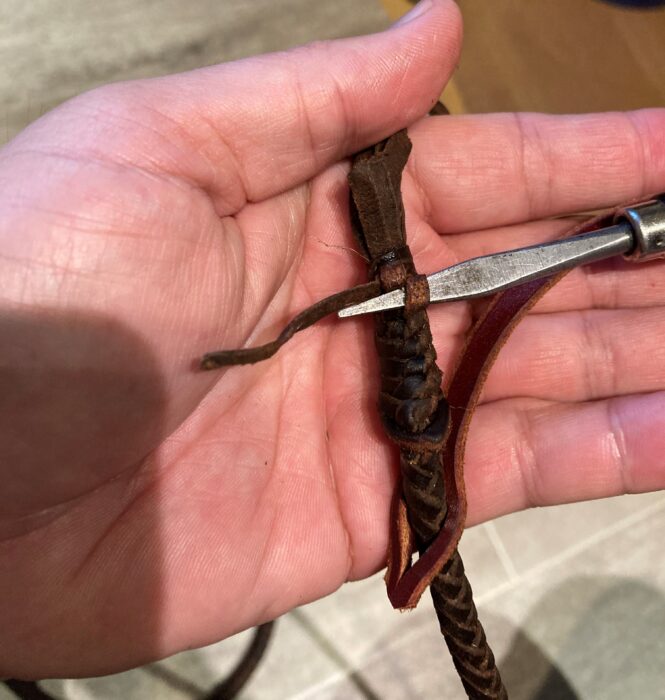
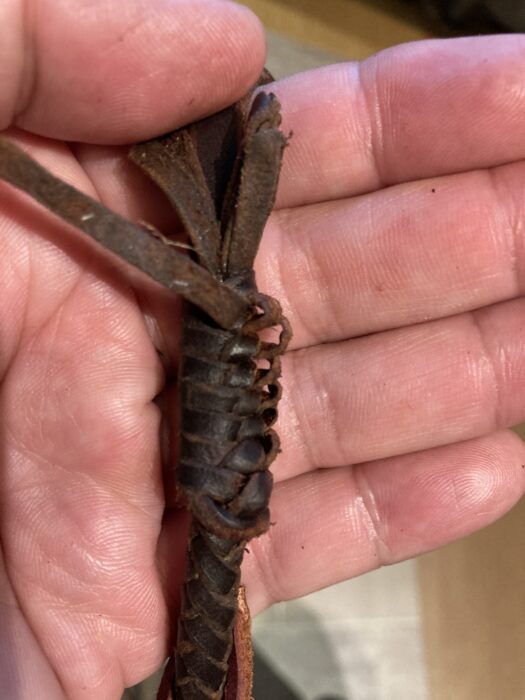
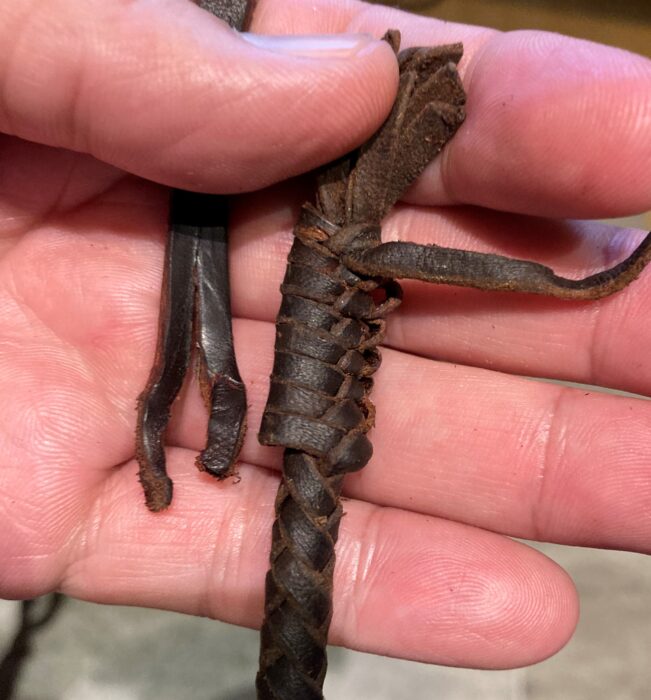
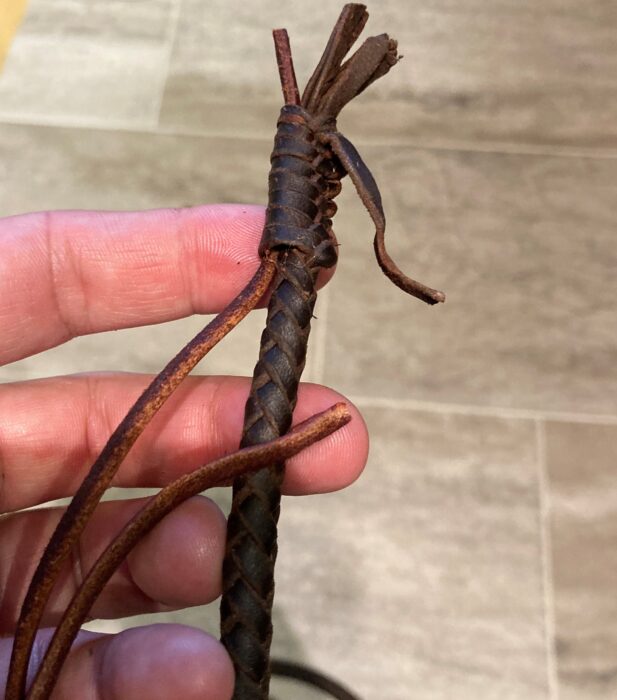
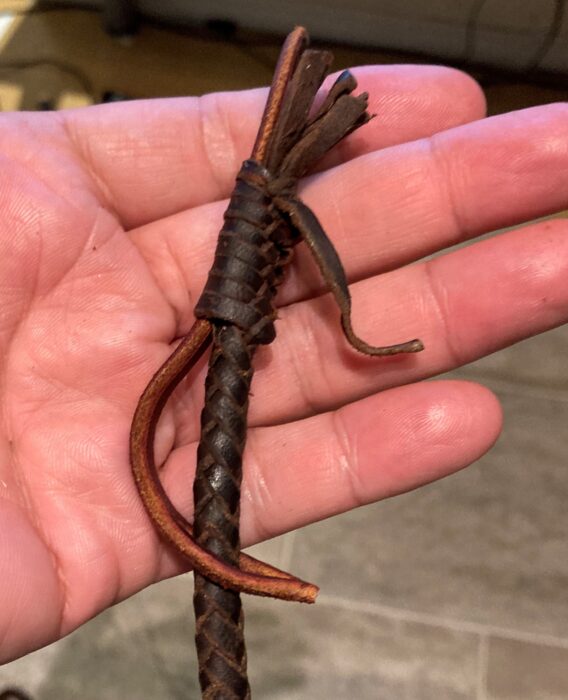
I replaced the leather for the keeper and retied everything.
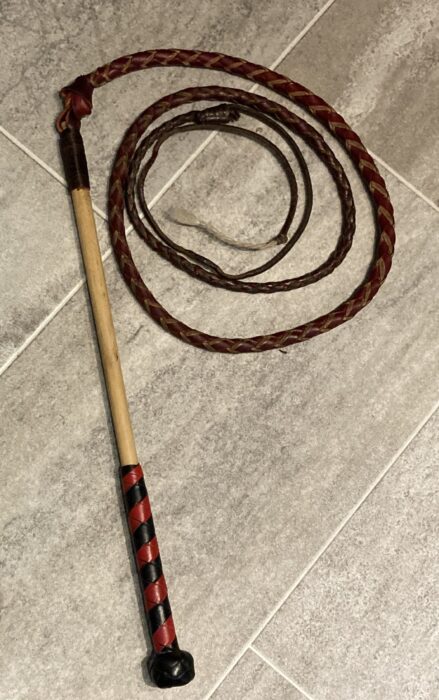
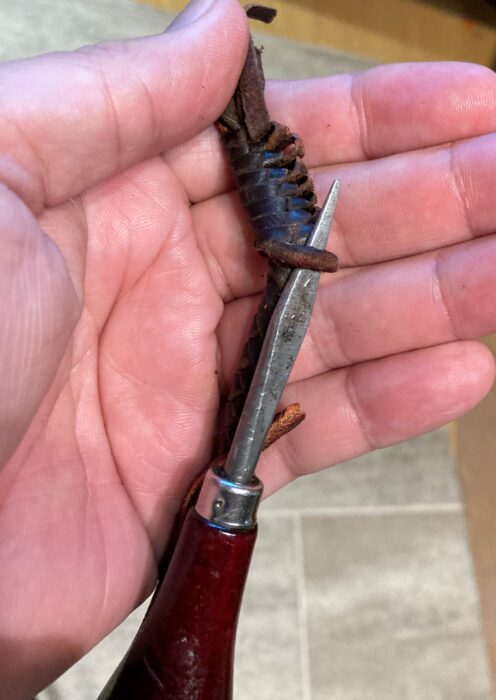
Also while I was working on it, I removed the knot that was in the fall and gave it a hit of Pecard Leather Dressing. This whip should have many more years of cracking in it!
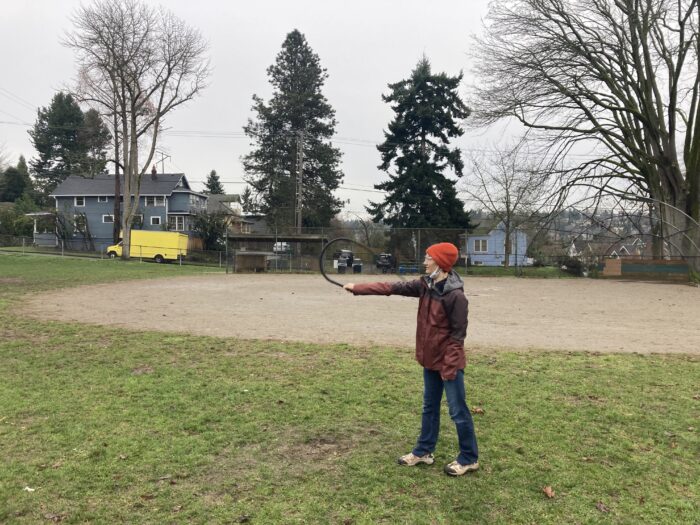
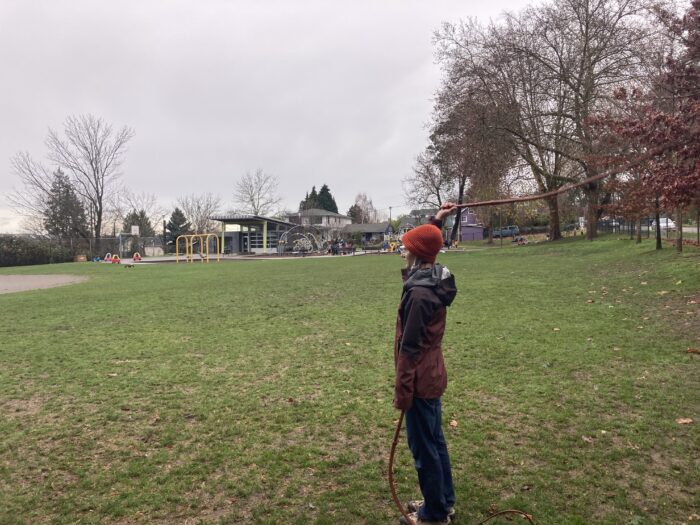
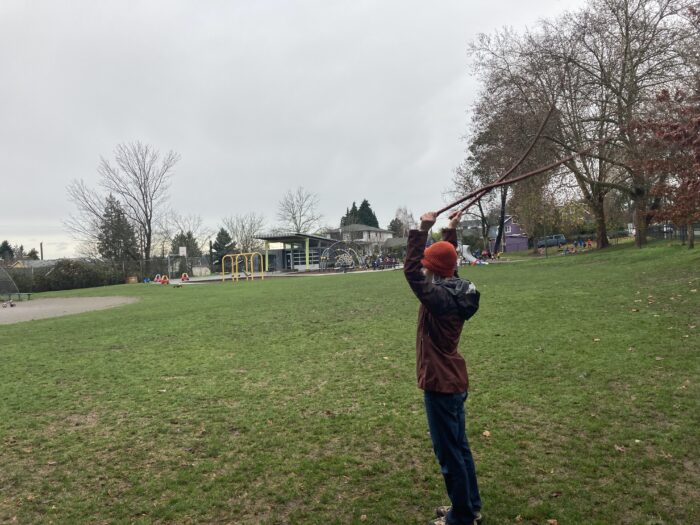
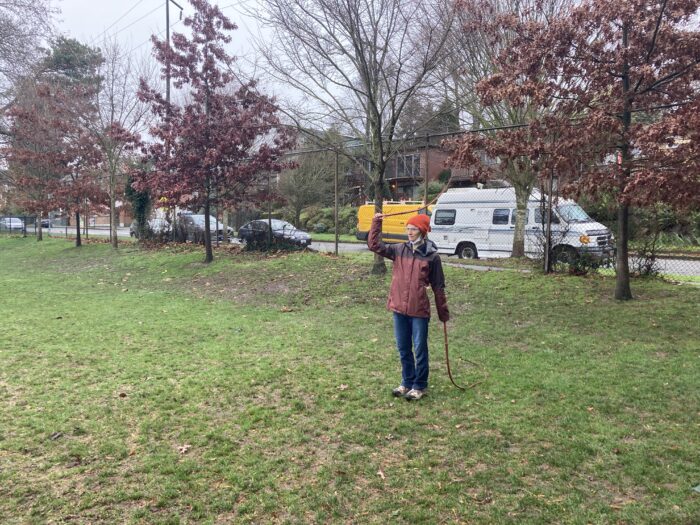
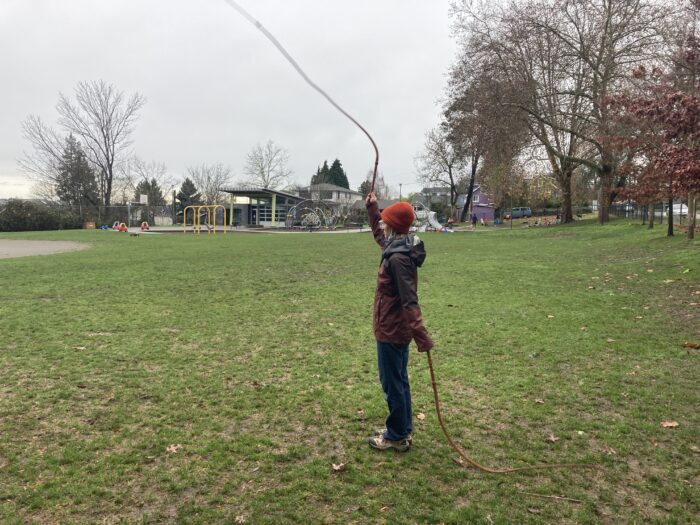
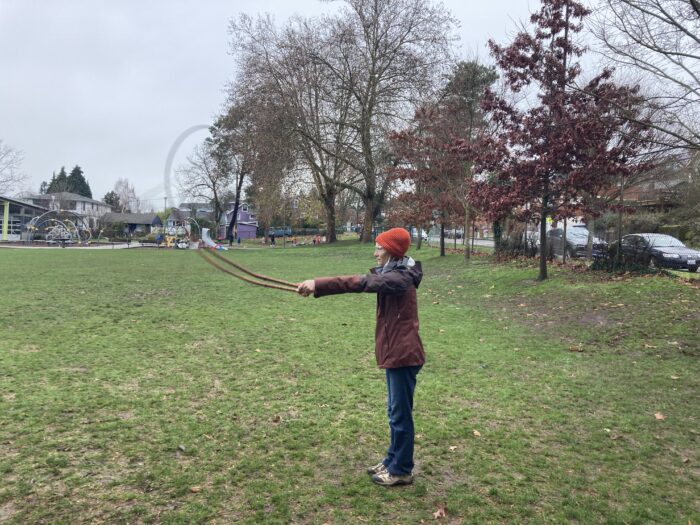
I’m based in the Seattle area and every now and then I get someone asking about learning to crack whips. One of the nice things is that I can meet up with them at a park and teach them the basics.
The bonus is that I have a lot of different whips, you can try cracking a lot of different style and you can see the difference between a bullwhip and a stock whip, or bullwhip with an 8 inch handle and a 12 inch handle.
If you’re in the Seattle area and would like info about some whip cracking lessons, hit me up!