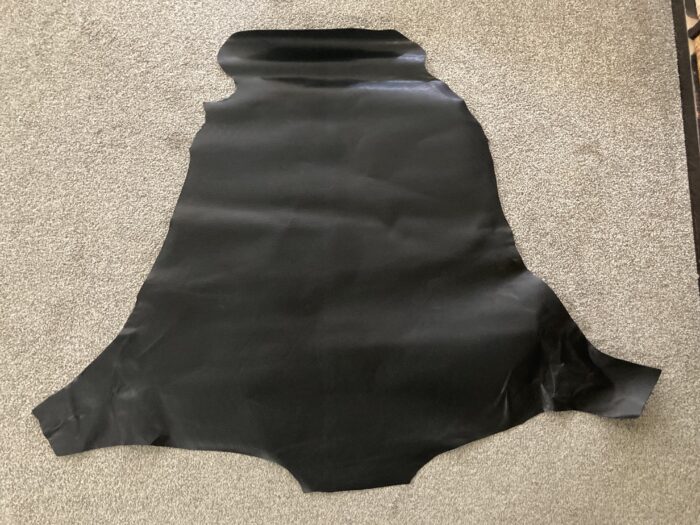
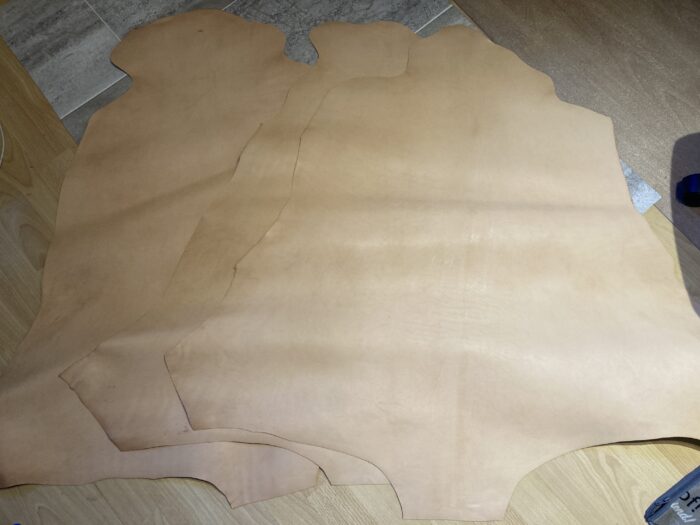
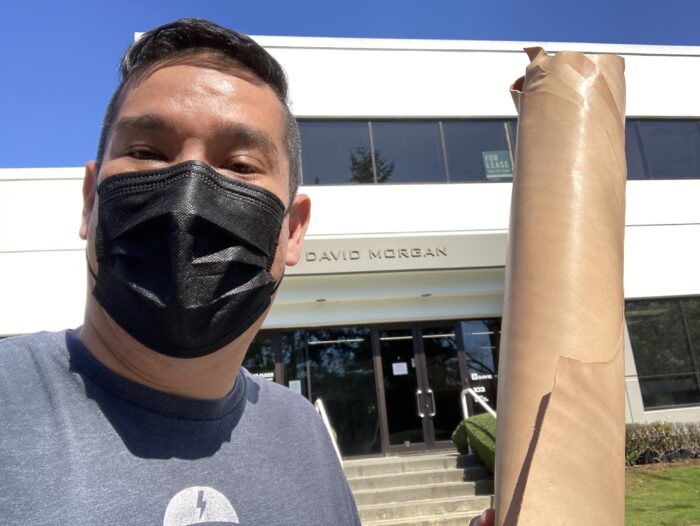
I’m trying to use up some natural tan and whiskey colored kangaroo centers that I have. I’m going to make some two tone whips using the centers as the second color. I drove up to David Morgan and picked up a black kangaroo skin for the base color for these whips.
I’m not sure what kinds of whips I’ll make, but with this veg tanned, drum stuffed skin at 82 decimeters, I have options as to what I can make! -Louie
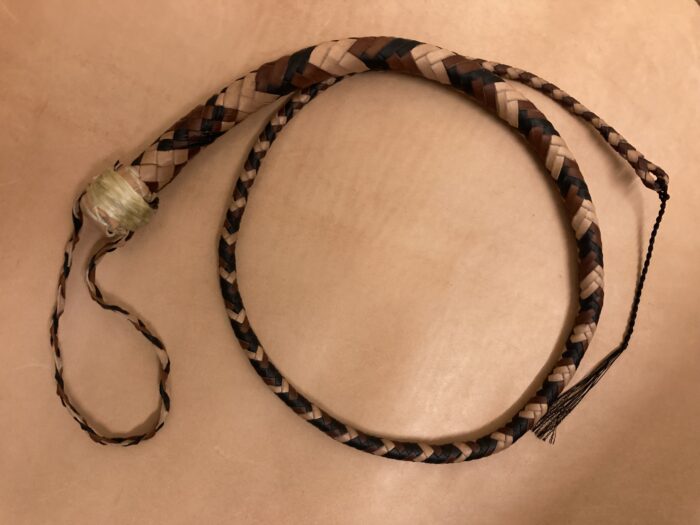
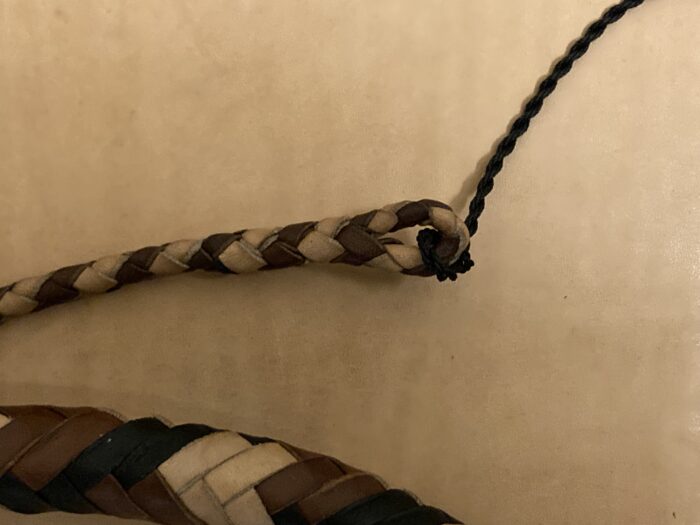
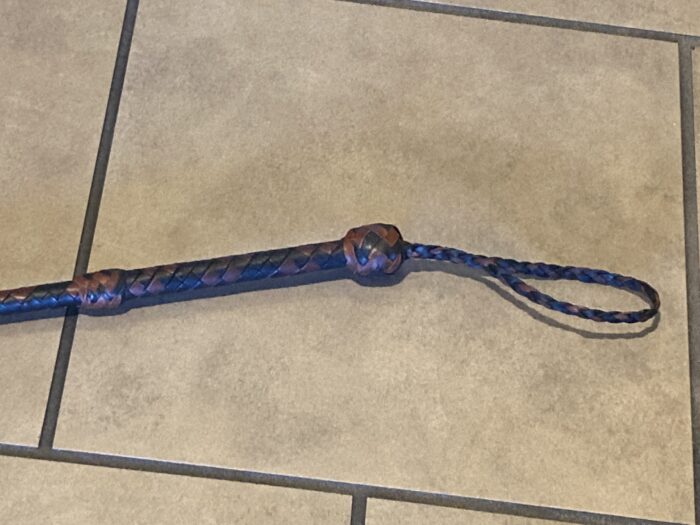
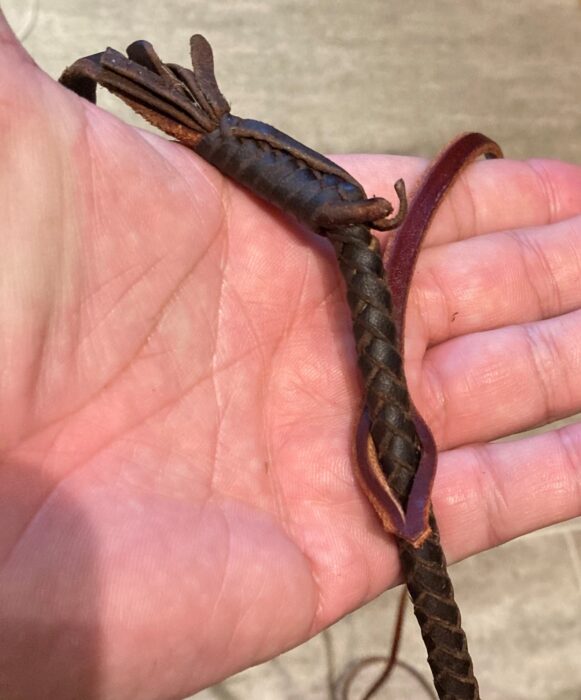
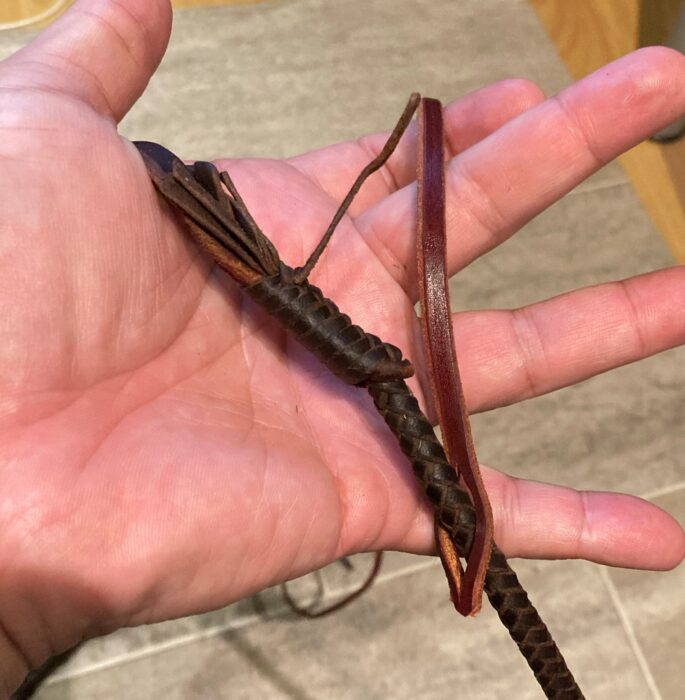
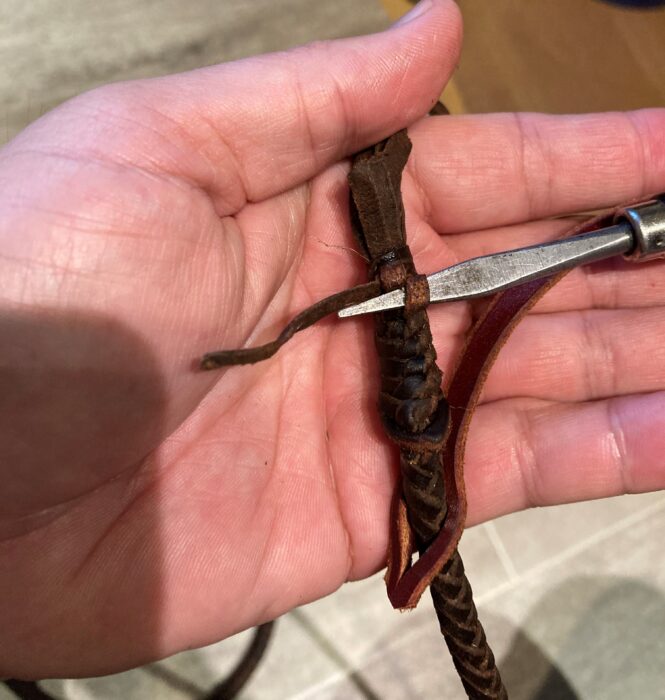
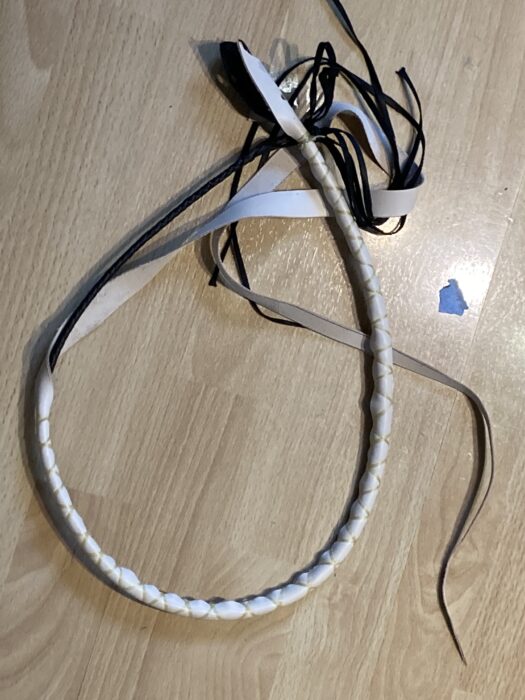
This single tail whip has a removable/replaceable cracker
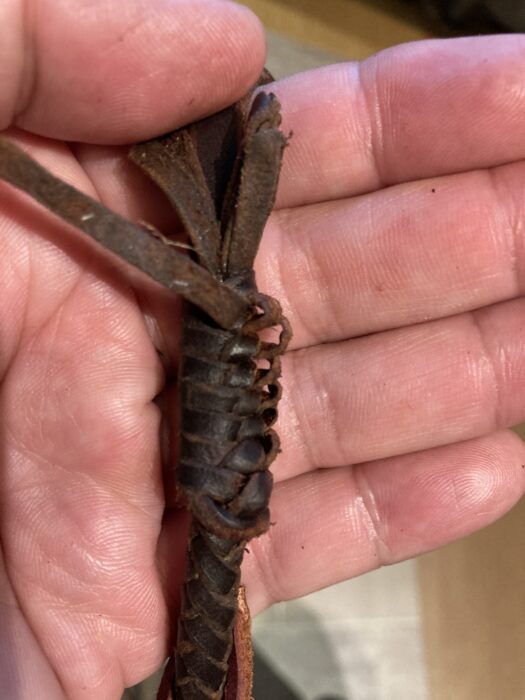
The end of the whip h as a 4 plait point that’s back braided on itself to form a loop for the cracker. You could also put in a slapper to make it like a quirt.
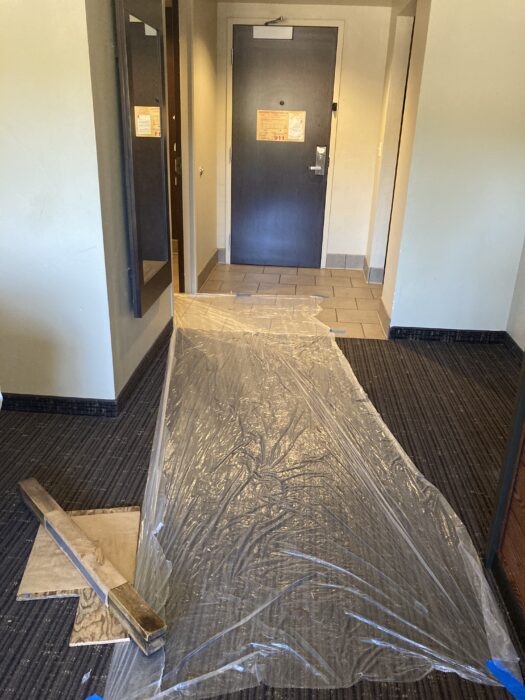
Sometimes when I travel, I make bullwhips in my hotel room. I’ve done this enough over the years that I have a system. It starts with laying down a plastic drop cloth on the ground to make my mess easy to clean!
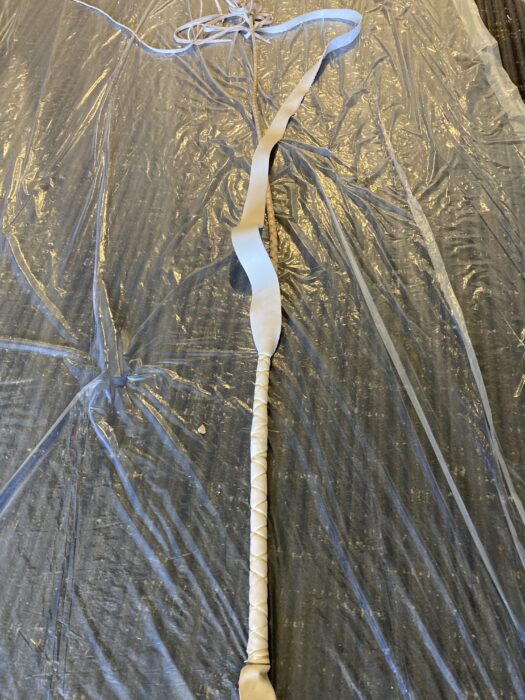
Here’s the outer belly of the six foot bullwhip I’m working on:
And here’s the whip with the boslter attached:
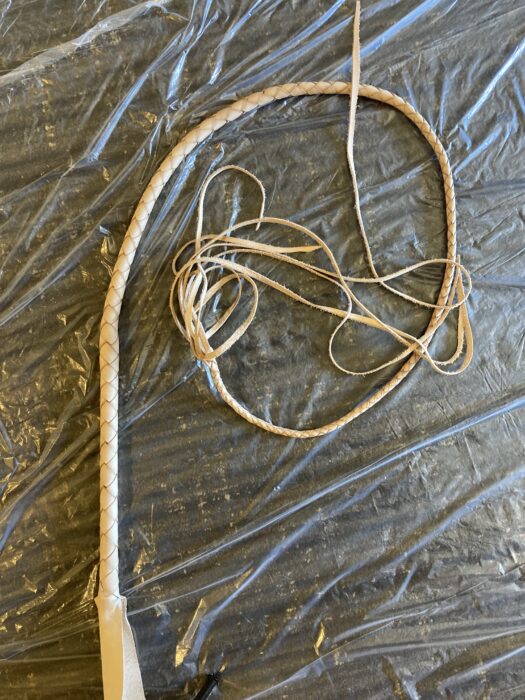
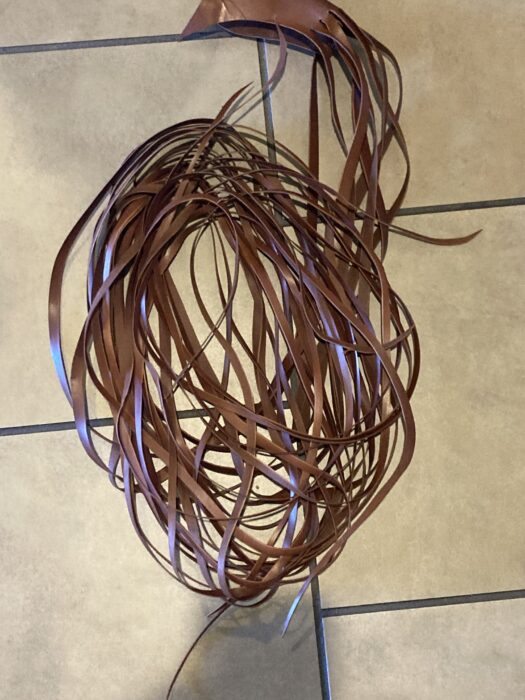
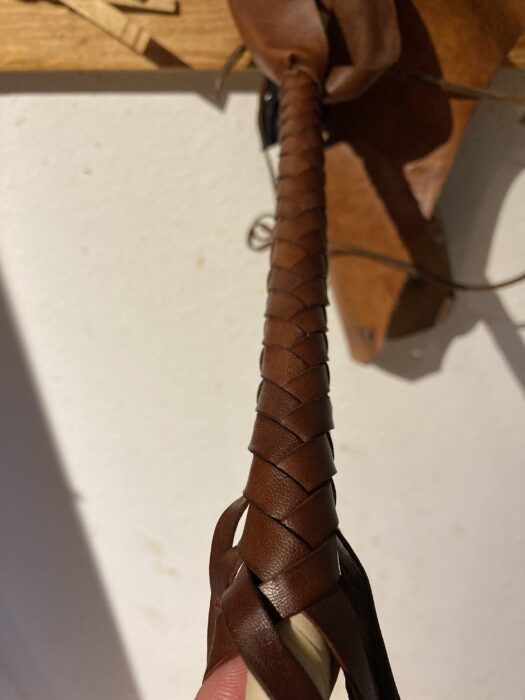
And the 8 plait whiskey overlay that has been stretched and pared:
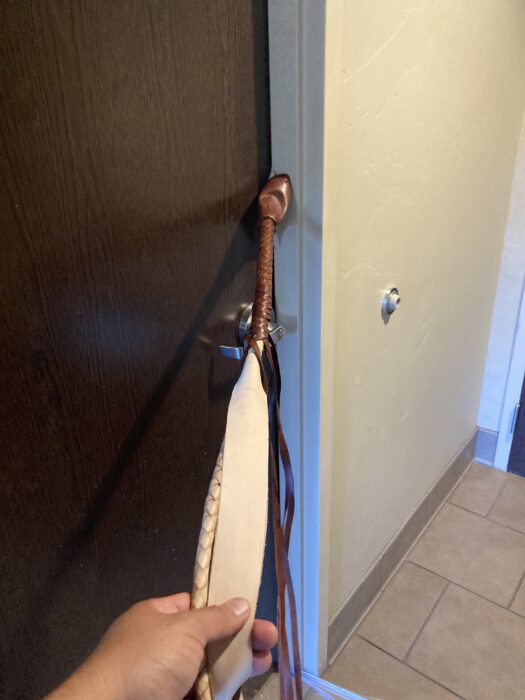
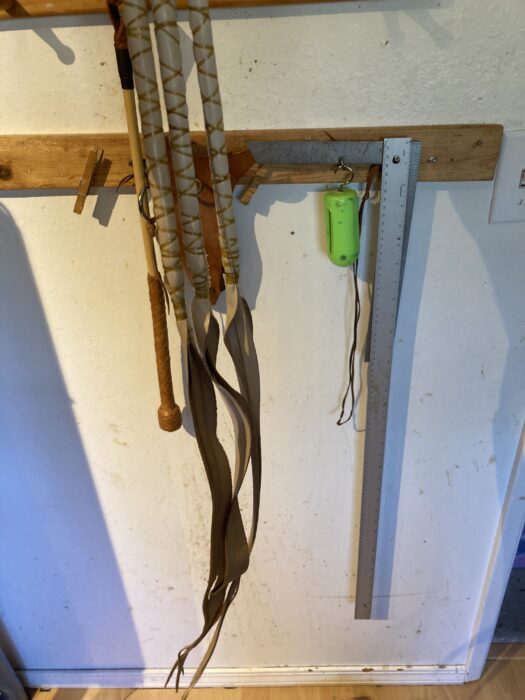
I have a way I lock the whip into the door jam to keep it from slipping out while I plait.
This 6 foot 8 plait bullwhip should be done tomorrow! This is a whip I’m making for fun, so when it’s done, I’ll list it on my IN STOCK whip page.
I’ve got six whips to make, three stock whips and three bullwhips. All of them are going to be made from veg tanned drum stuffed kangaroo in natural tan color.
The three bullwhips are going to be more labor than the stockwhips, so I’m getting started on those first.
Hoping to bust my butt and get all six whips done in a couple of days. -Louie
One of the nice things about living in the Seattle area is that I can visit the crew up at David Morgan!
They are my main source for the veg tanned, drum stuffed kangaroo that I use for my whips. The cool thing is that they let me dig through their stock, so I can find exactly what I need for the whip I’m planning on making!
If you ever get a chance to swing by their shop, the “shop bullwhip” is one of the best looking Indiana Jones style bullwhip I’ve ever seen!
It makes sense that their Indy Bullwhip is amazing as David made them for the movies.
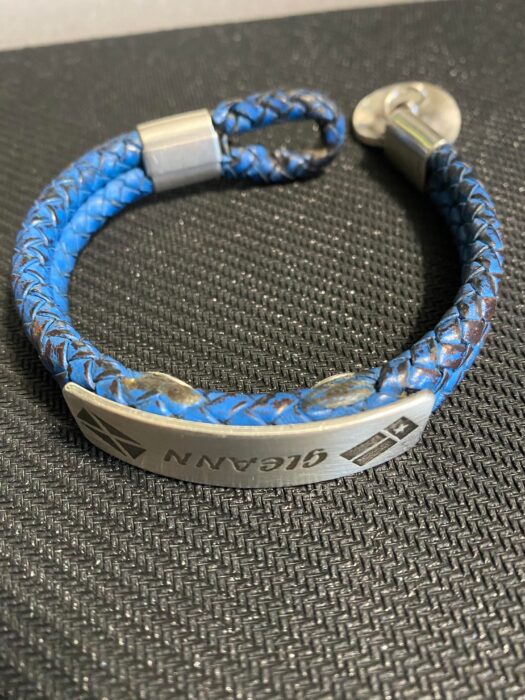
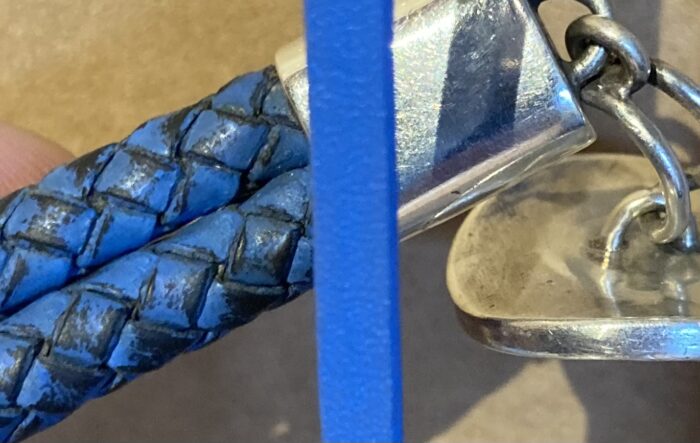
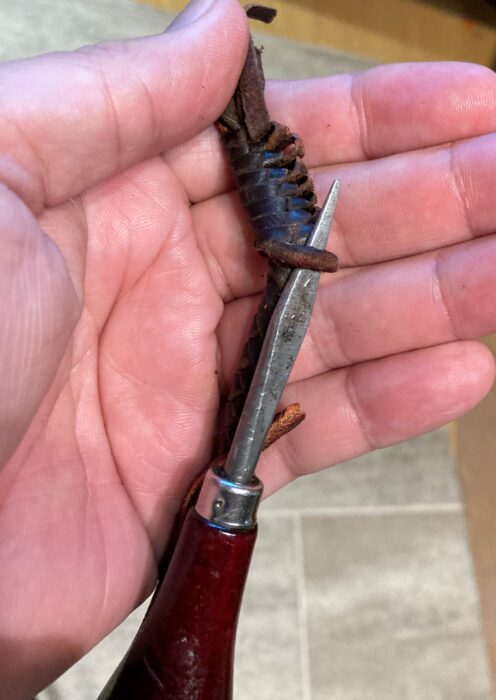
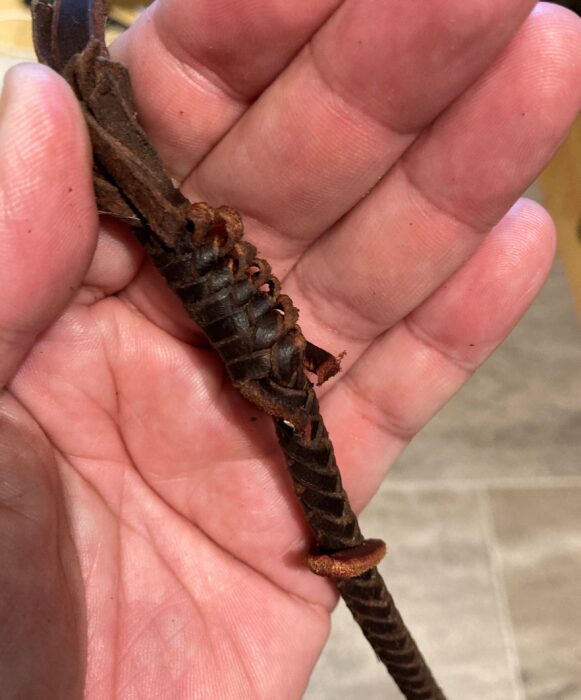
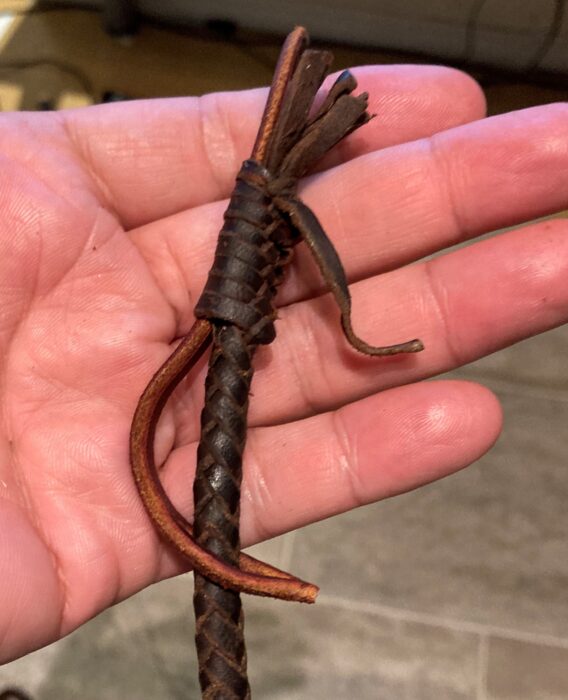
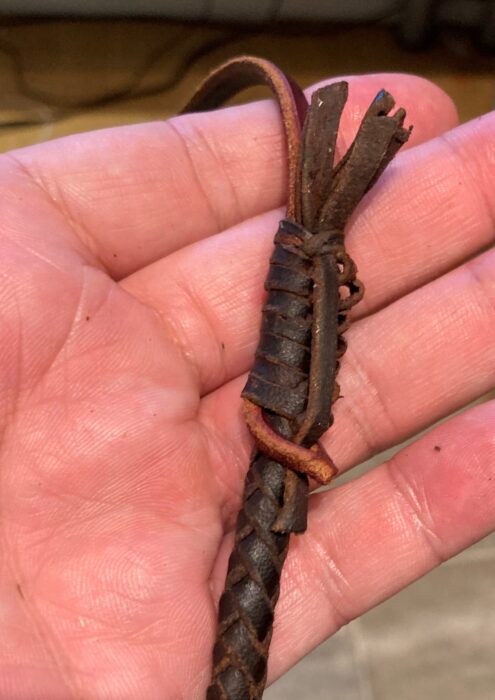
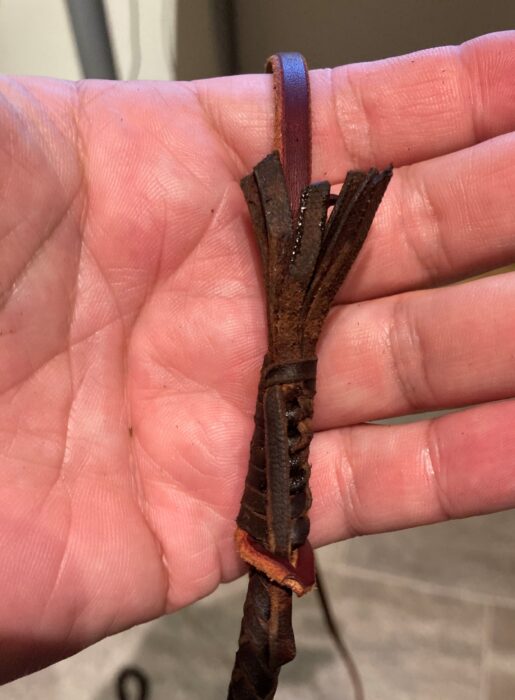
A little bit ago I got a request to fix the braided part of a bracelet. Here’s the pic that I was sent:
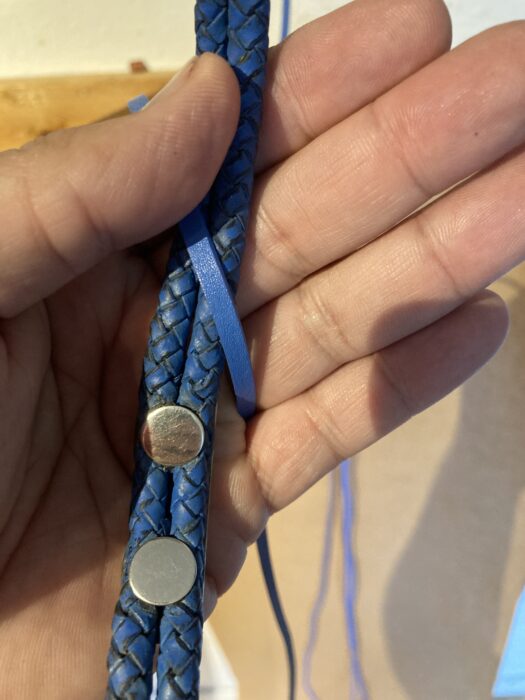
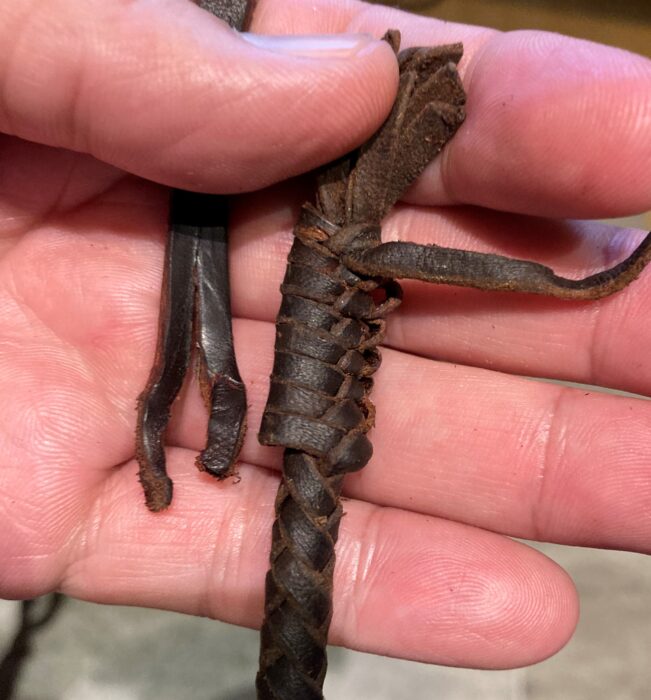
The wanted the 4 plait part replaced and the color hopefully matched with the original color. Here’s a pic of the bracelet when it was new:
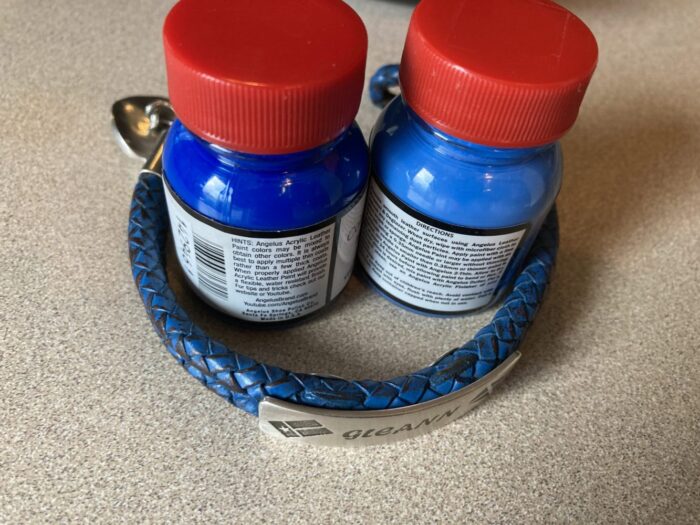
The leather on that was glazed and by that I mean it has a coating of blue on top of the grain side of leather. For me to get that color in a decent material, I would need to either get lucky and find the color at one of my local leather suppliers, dye or paint the leather.
My trip out to look for something premade, I struck out and to dye it, I really wouldn’t get that color of blue. That left me with painting as the only real option to color it. Painting and dying leather is a pain, you need to give the leather a hit of deglazer, paint/dye it, then seal it.
I picked up two colors of blue and between the two I figured I could get pretty close to the original color.
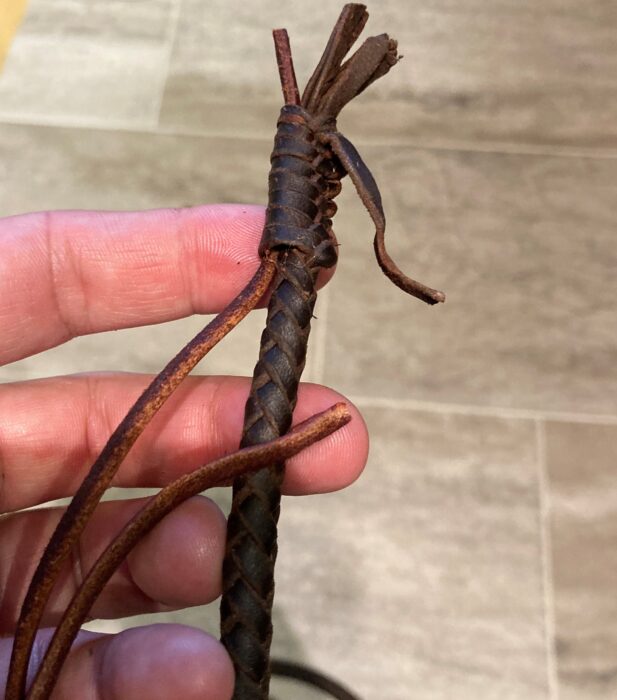
Lucky for me the owner of the bracelet said the lighter blue straight out of the jar was what he wanted. I think the color came out pretty well after cutting the lace, doing all the strand prep and then completing the painting process.
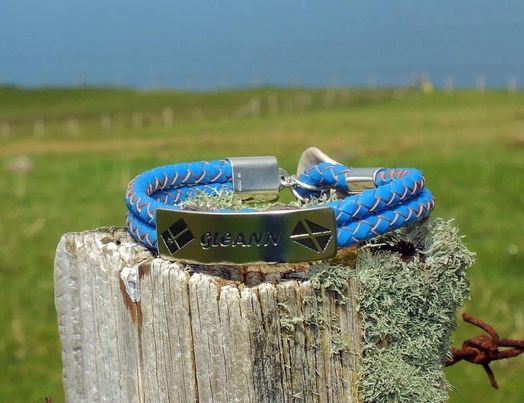
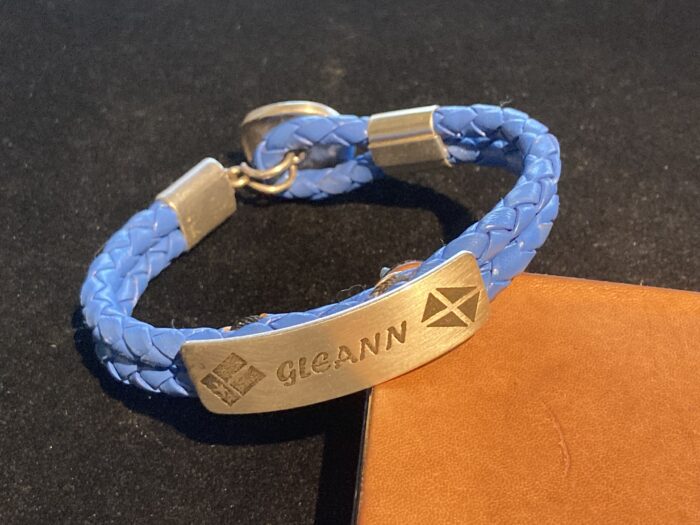
Here’s the finished product bracelet:
In the end this is a better product as it’s a higher quality leather as I used kangaroo. Also the painted leather that should hold it’s color better than the previous glazed leather.
This was a fun project as it’s slightly outside of what I normally do.
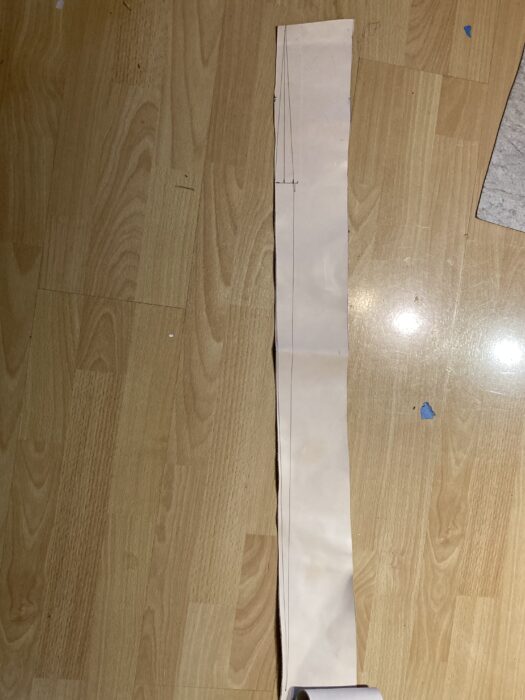
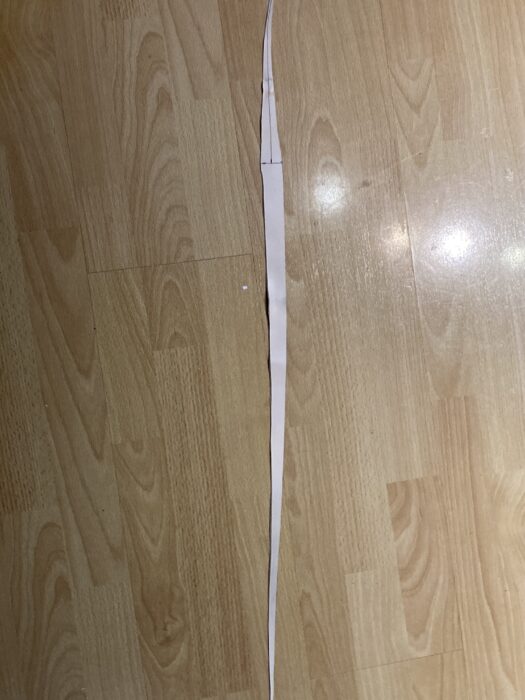
The person who ordered the hunt whip thong from me a bit ago liked it and just ordered another one. This one is five feet long, where the previous one was six feet. Here’s the core before it’s cut out:
And the core after it’s cut out:
This whip will have a little bit of a swell belly, so you can see that in the core’s shape. Here’s the completed interior layers:
Finally work get started on the outside:
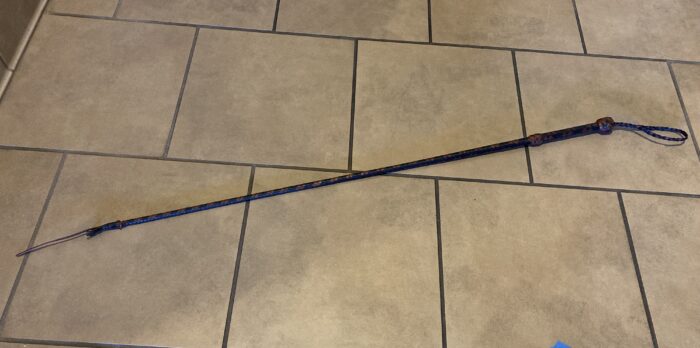
This whip will have an 8 plait whiskey colored kangaroo overlay:
I’m glad the customer liked the first one enough to order a second one!