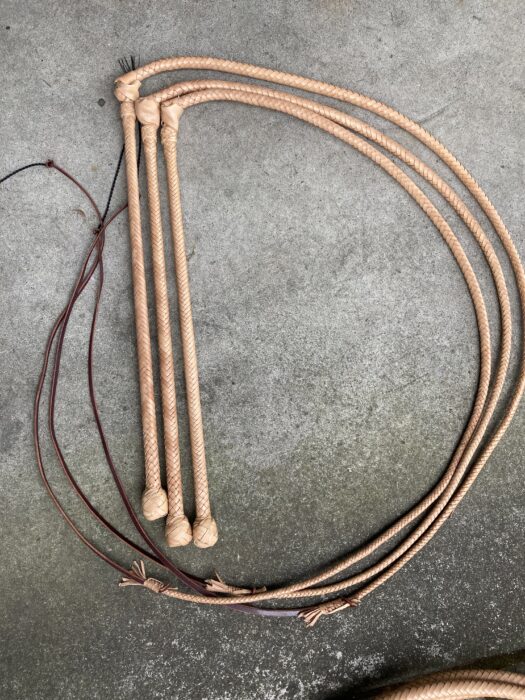
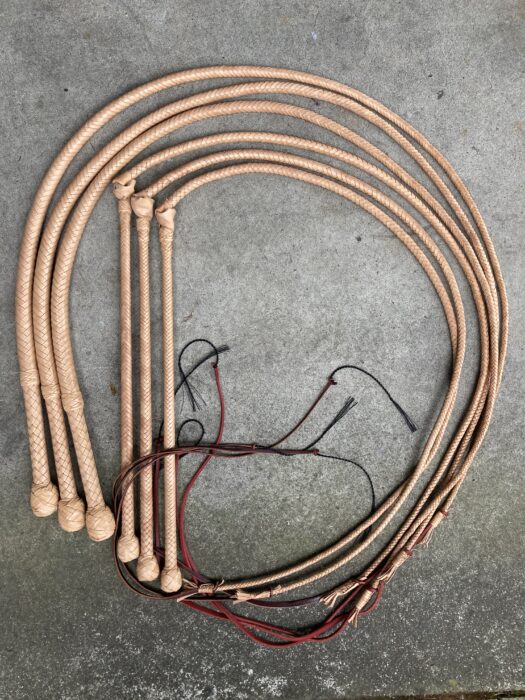
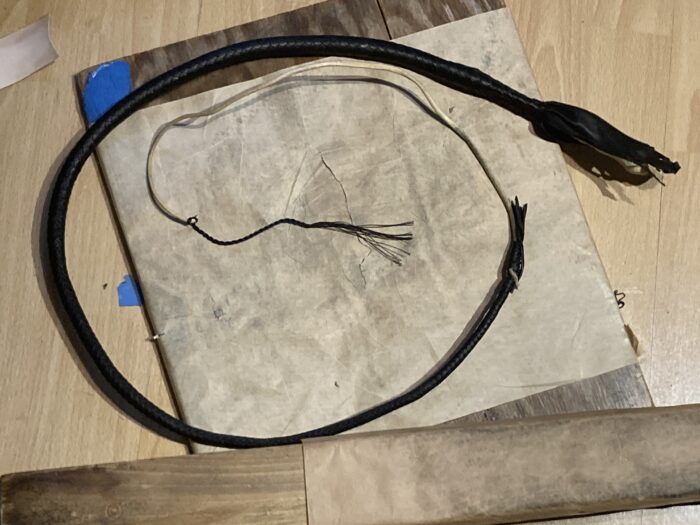
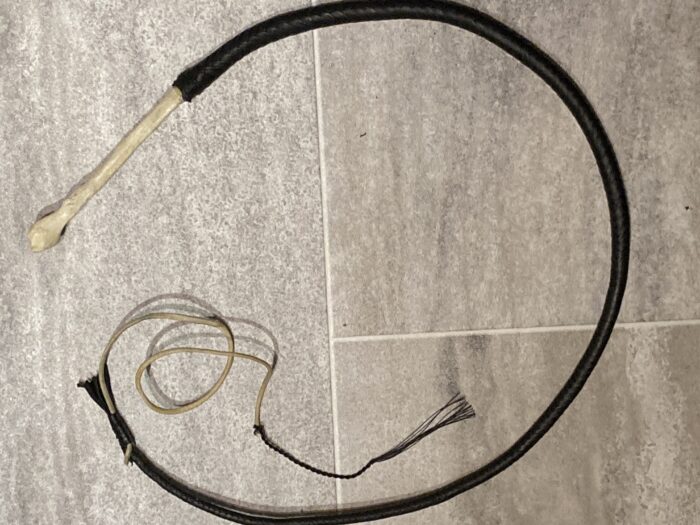
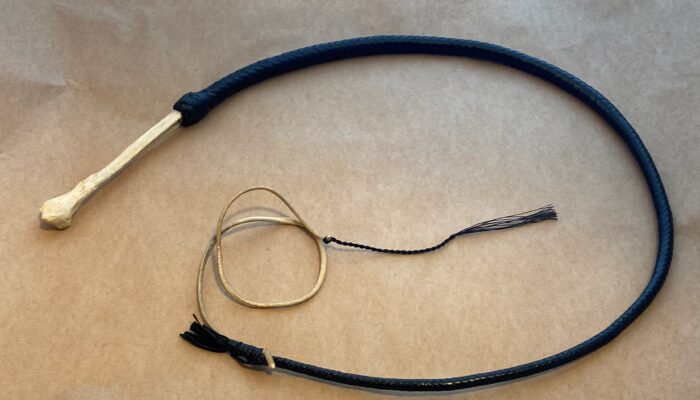
I love coming across whips while I travel around performing. Here’s a whip that belongs to Scotty and Katrine. They got it 20+ years ago from Western Stage Props and it was probably made by Joe Strain.
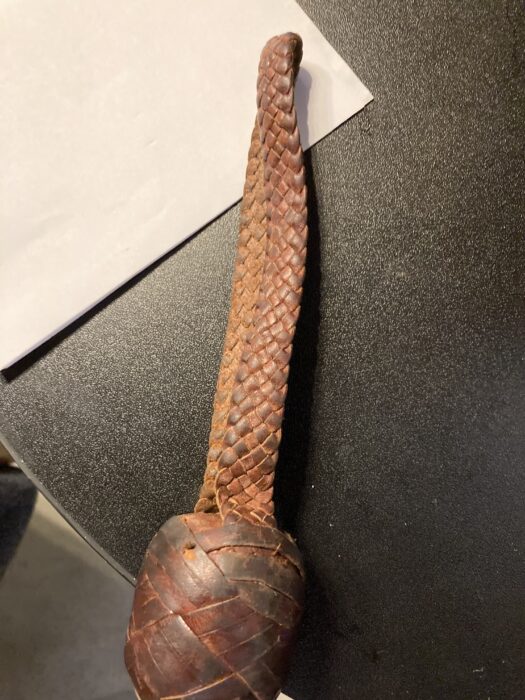
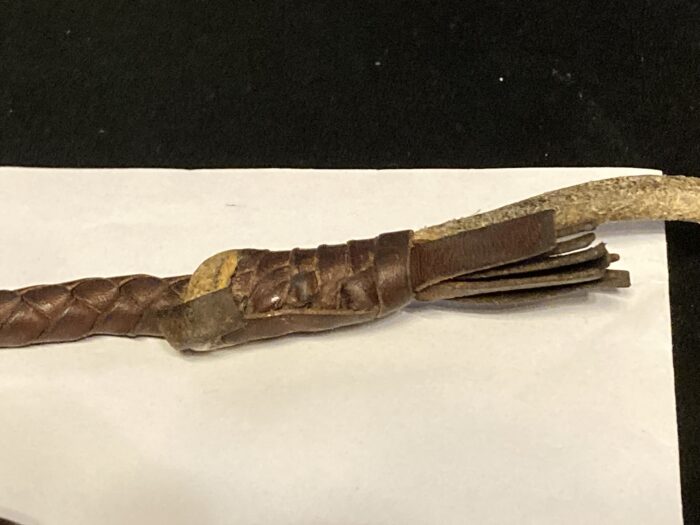
This bullwhip is 6 feet and made in 12 plait kangaroo. When people say that whips are expensive, I tell them a well made whip will last decades and poorly made one will last a year or two. That’s the huge difference, in the long run, cheap whips will cost you more.