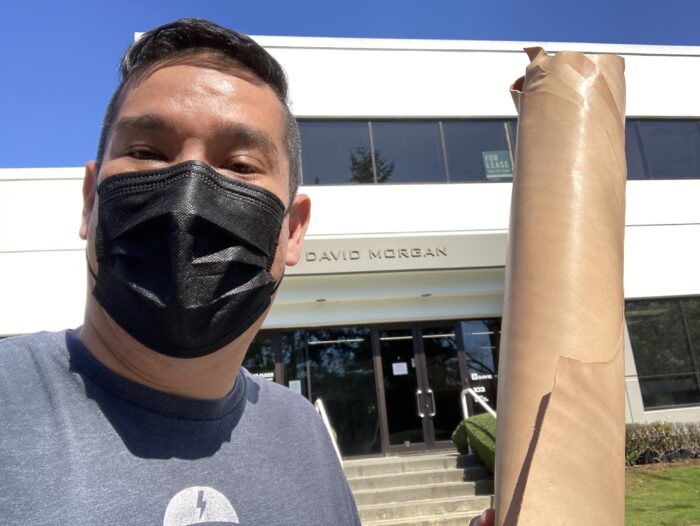
One of the nice things about living in the Seattle area is that I can visit the crew up at David Morgan!
They are my main source for the veg tanned, drum stuffed kangaroo that I use for my whips. The cool thing is that they let me dig through their stock, so I can find exactly what I need for the whip I’m planning on making!
If you ever get a chance to swing by their shop, the “shop bullwhip” is one of the best looking Indiana Jones style bullwhip I’ve ever seen!
It makes sense that their Indy Bullwhip is amazing as David made them for the movies.
Here’s a swivel handled bullwhip that recently came in for a repair. The first thing is needed was to have some Pecard Leather Dressing put on it as it was pretty dry. Once the bullwhip had drank that up, I could start to deal with the reason it was sent it, it needed a new point and fall.
I also n0ticed that the heel knot was non-existent and it was just the knot foundation leather, so I got the OK from the owner to replace that as well.
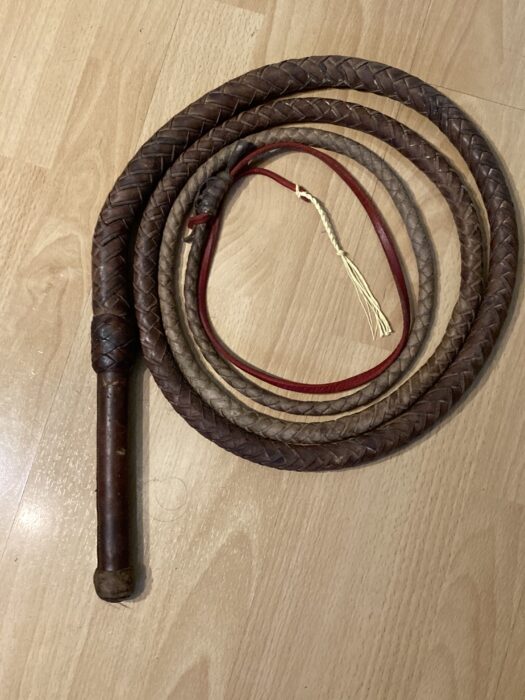
Here’s the whip with the new fall hitch and redhide fall attached:
And finally here’s the bullwhip with the new heel knot:
This whip just needed a little bit of love (aka maintenance) and it’s back out there cracking!
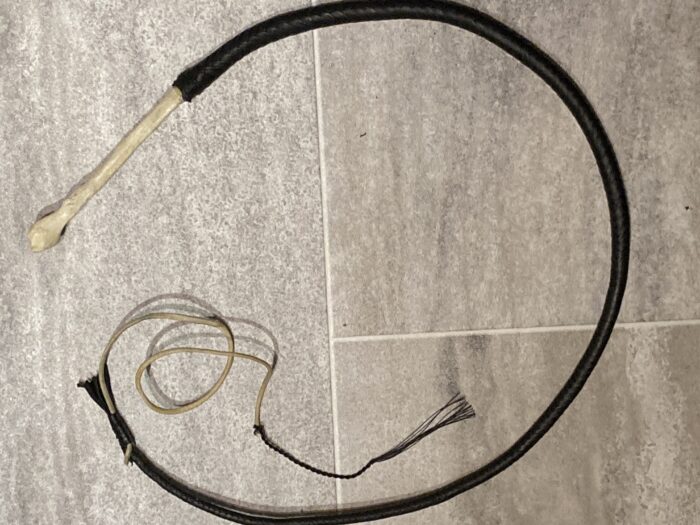
For about a decade I’ve wanted to make a bullwhip that had a human bone for a handle. A while ago I found a fibula that would be perfect for the handle of a short bullwhip. This whip internally has a core, bolster and plaited belly.
Here’s the overlay:
I started braiding in the middle of the bone handle so that I could get the plaiting nice and tight where it was going to start on the finished whip. I also lashed it down tightly with string.
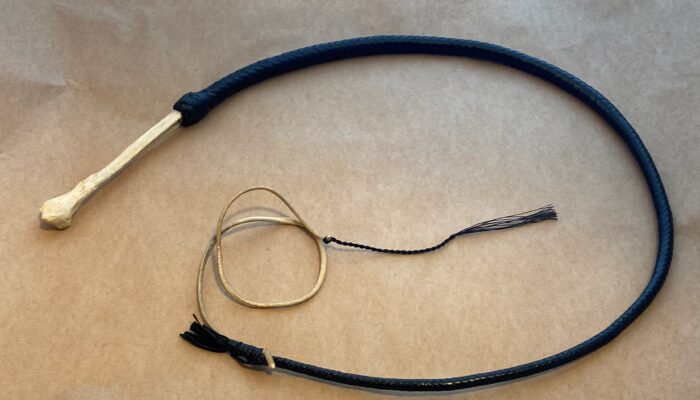
And here’s the finished whip:
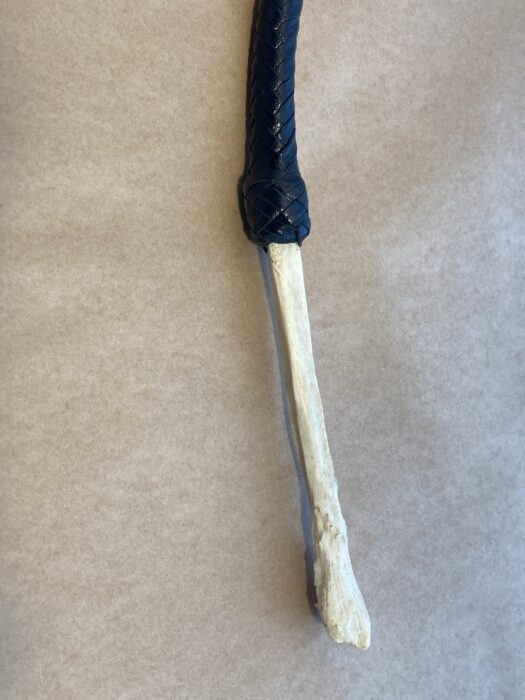
Here’s a close up of the handle:
This whip has a great crack and I think it’s a cool functional piece of art!
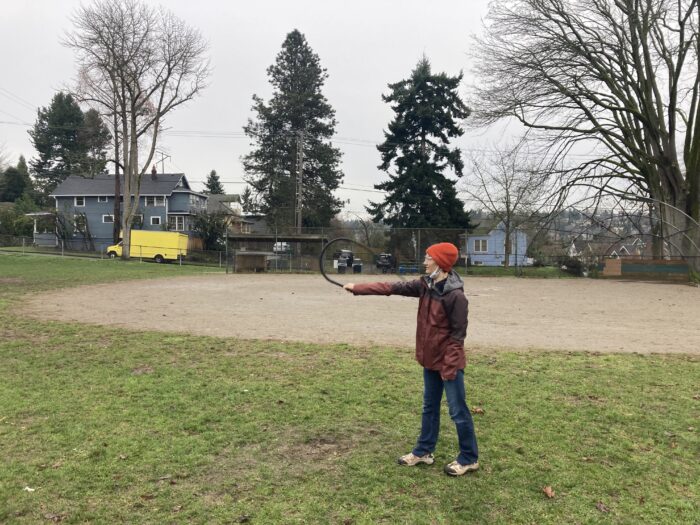
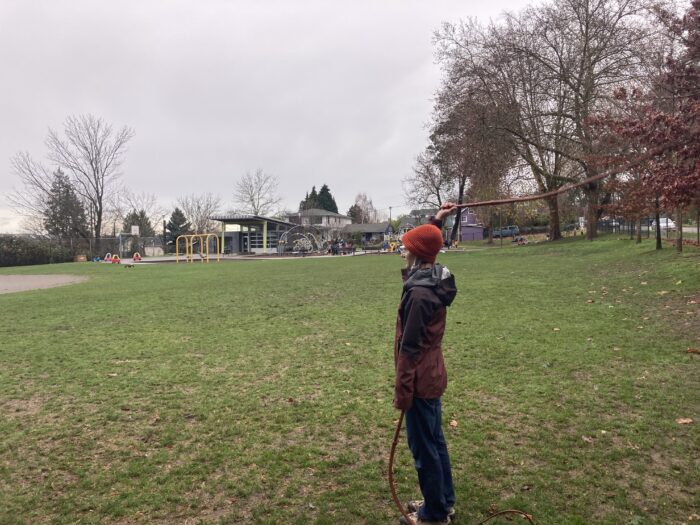
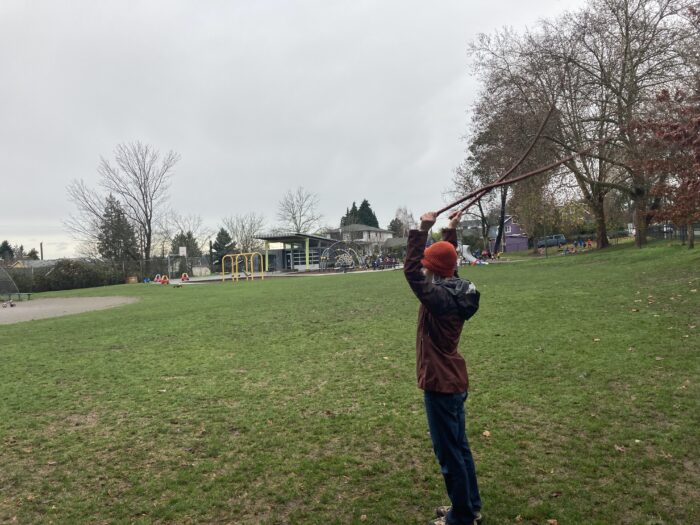
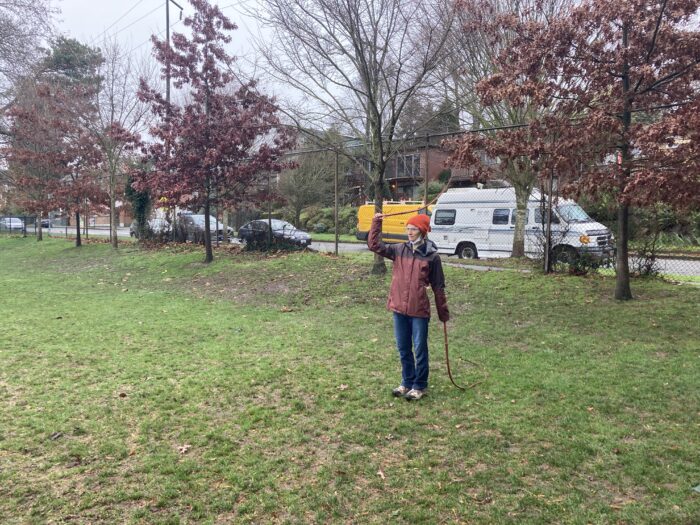
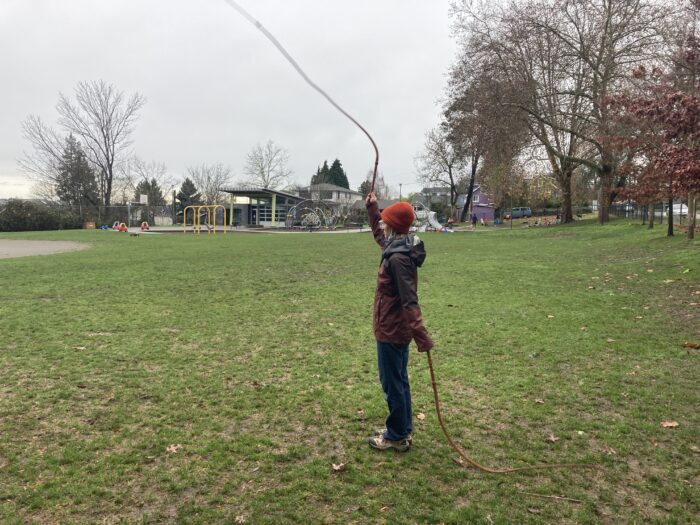
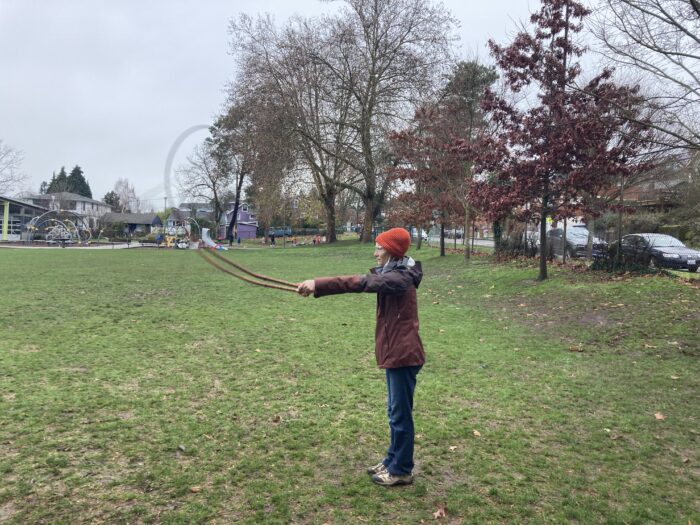
I’m based in the Seattle area and every now and then I get someone asking about learning to crack whips. One of the nice things is that I can meet up with them at a park and teach them the basics.
The bonus is that I have a lot of different whips, you can try cracking a lot of different style and you can see the difference between a bullwhip and a stock whip, or bullwhip with an 8 inch handle and a 12 inch handle.
If you’re in the Seattle area and would like info about some whip cracking lessons, hit me up!
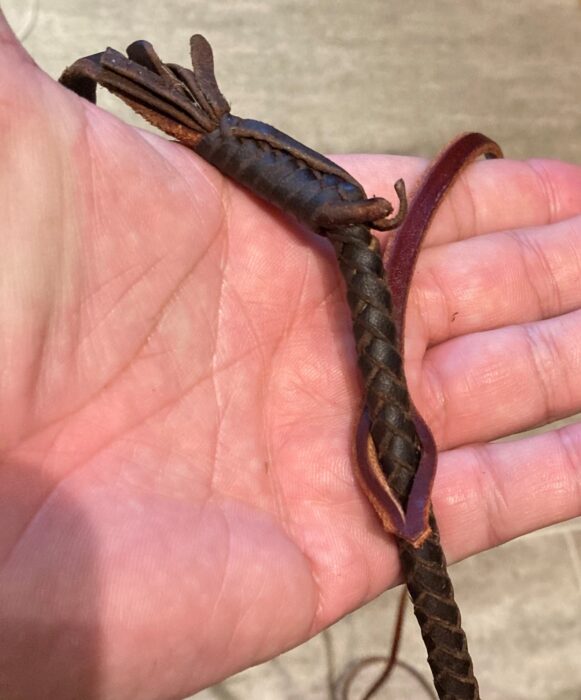
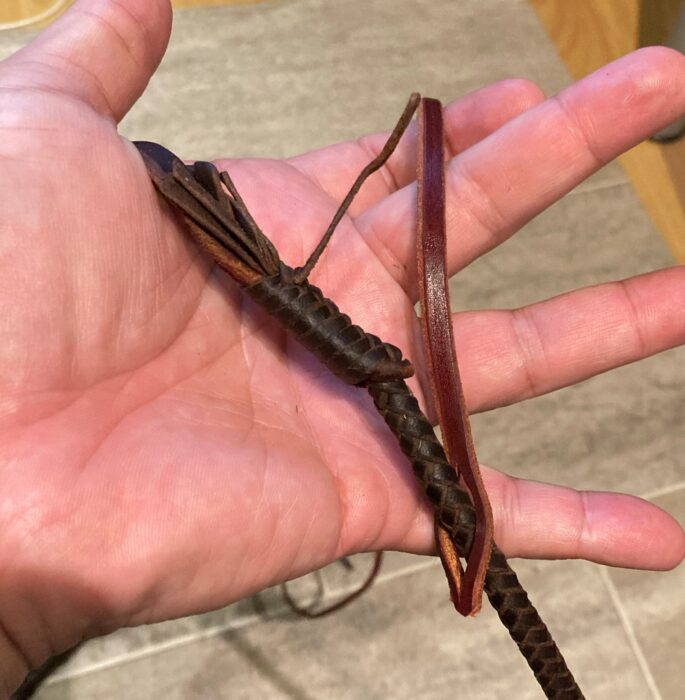
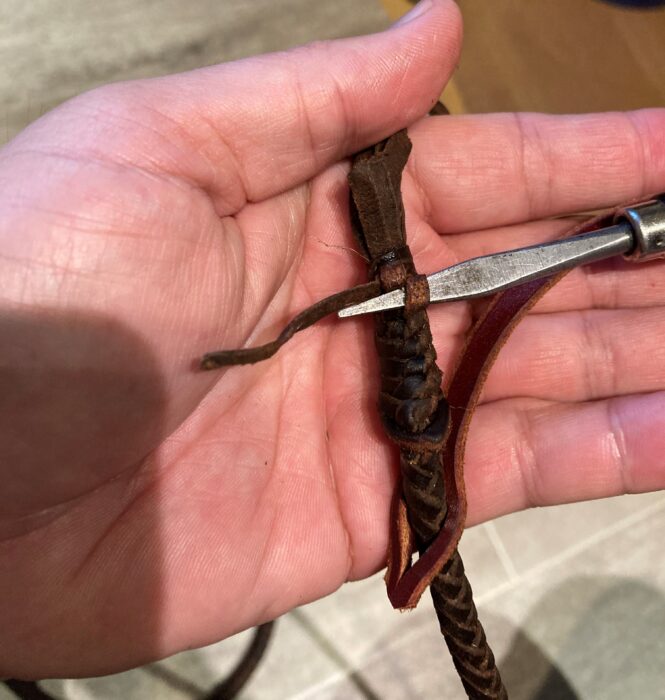
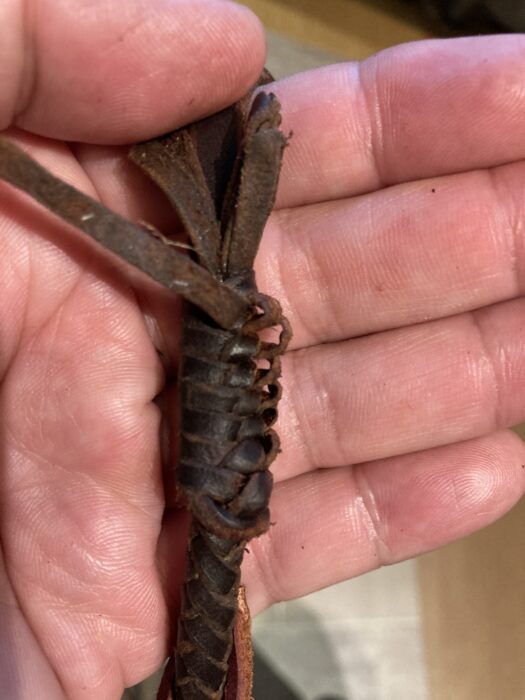
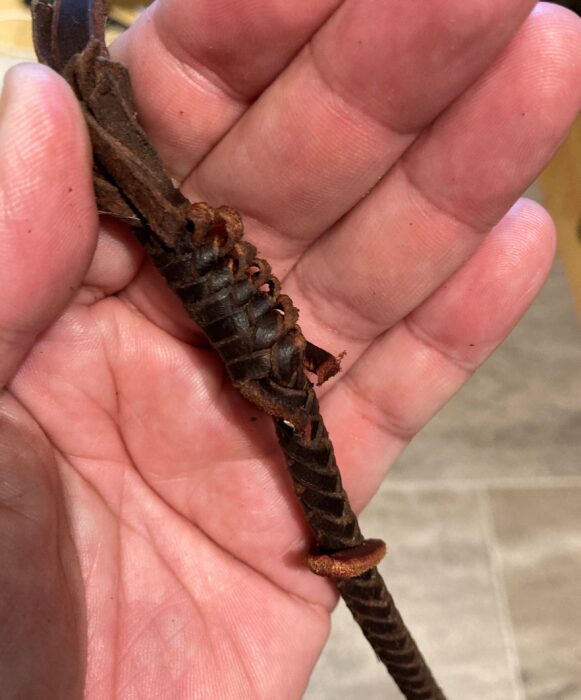
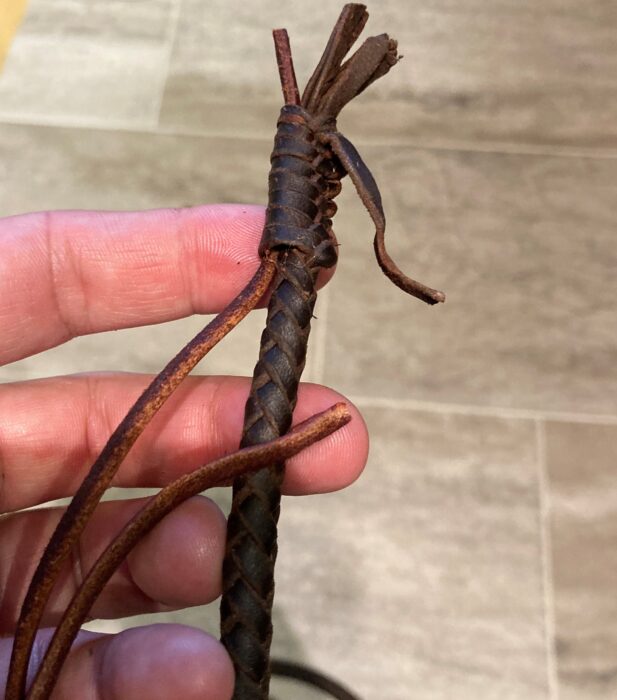
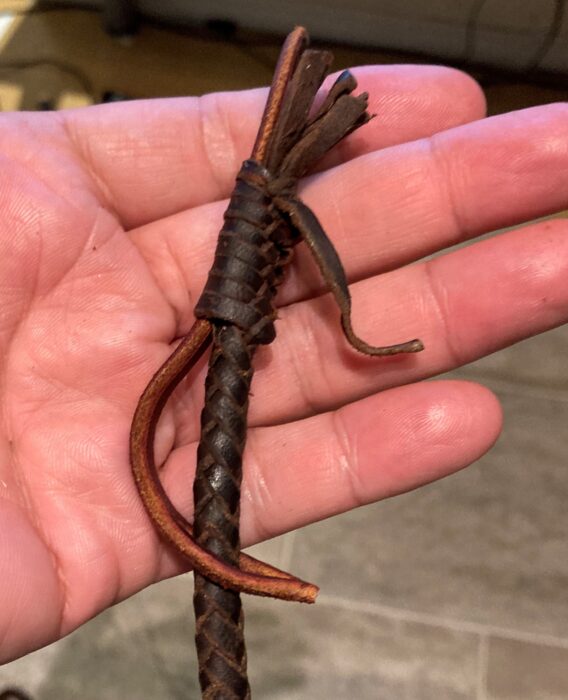
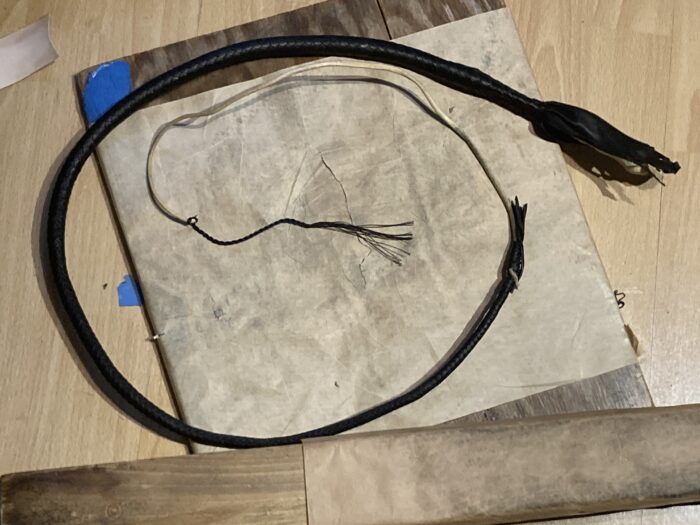
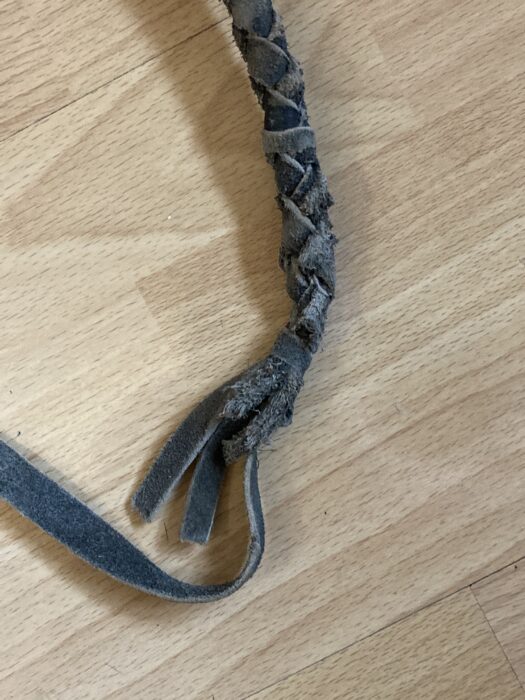
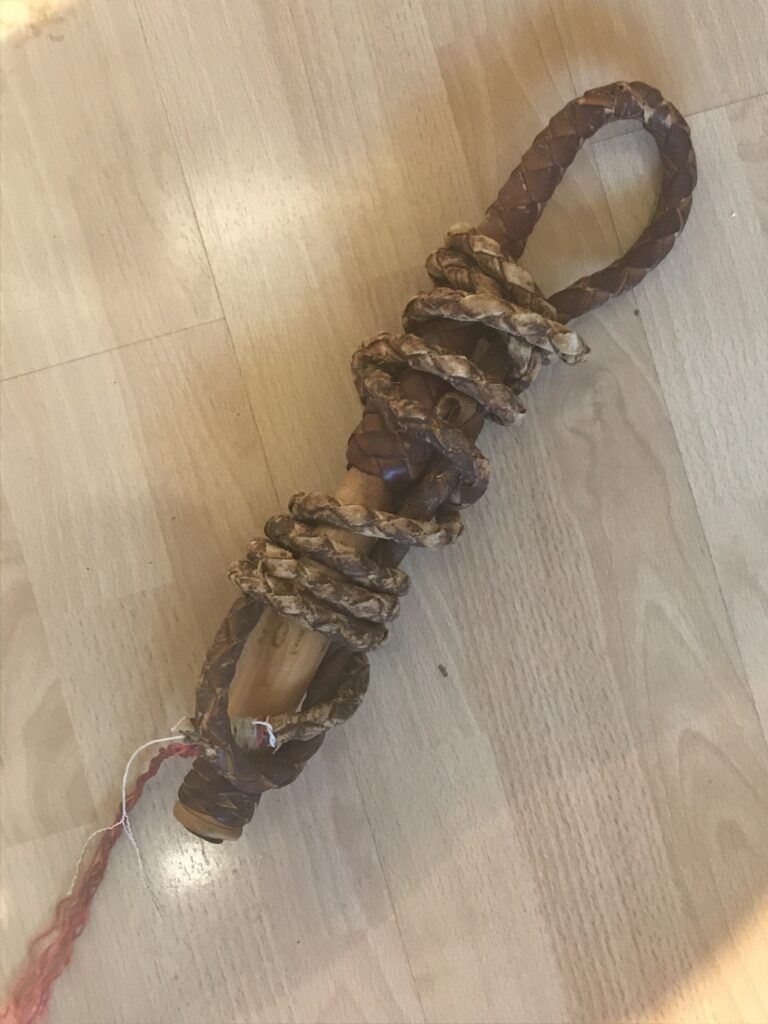
Another whip came in for a new fall. After a quick look at it, it also needed the point replaited. At some point this whip’s fall hitch had come undone and it someone retied the end of the whip poorly.
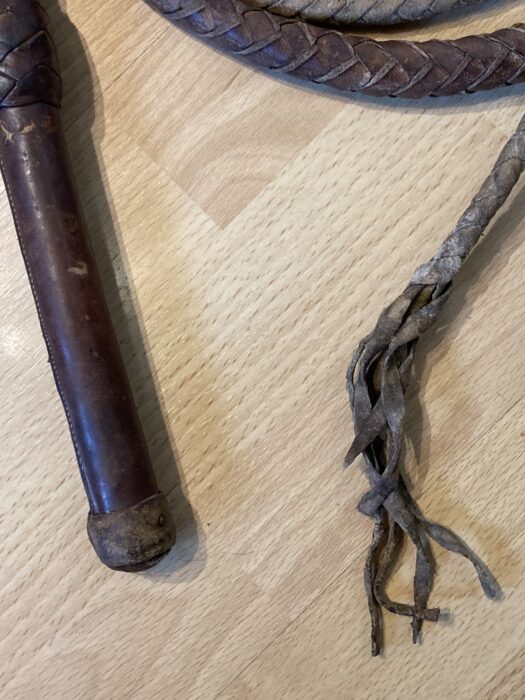
Here’s a close up of the end:
This is one of the cheap-o whips, where what it cost for me to replait the point and put a new fall on would cost about the same as buying a new whip. The owner said it has sentimental value, and wanted to proceed with the repair.
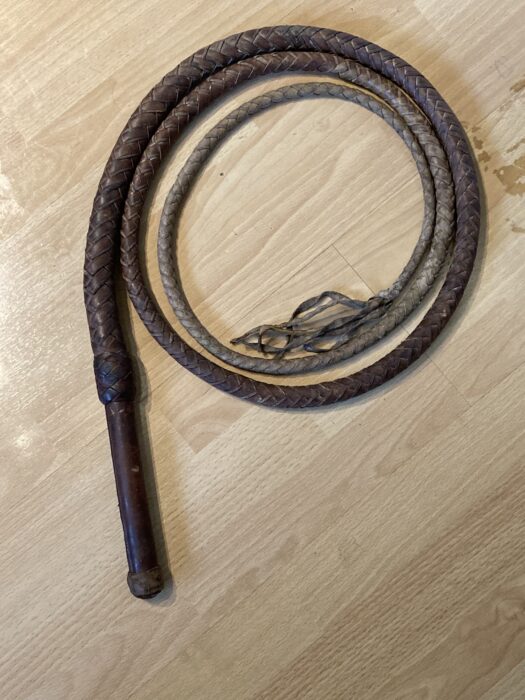
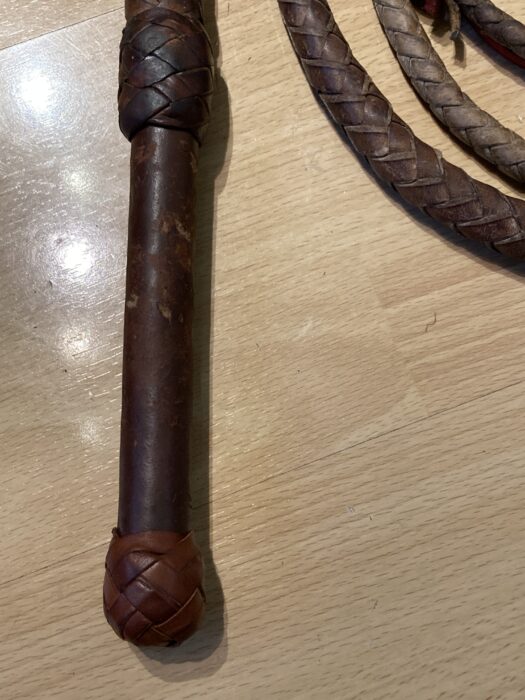
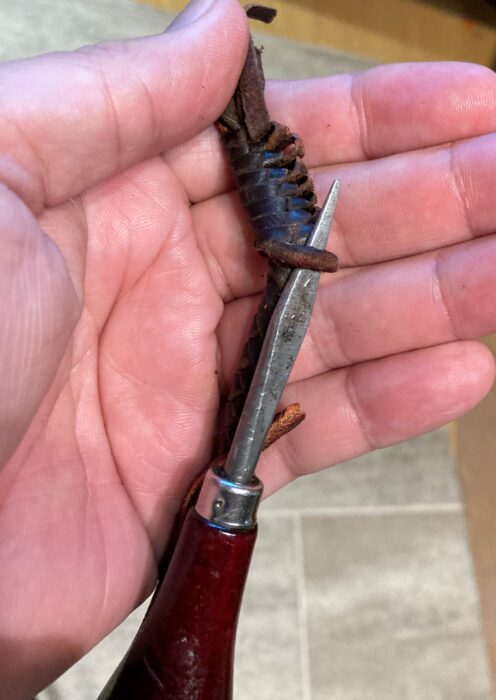
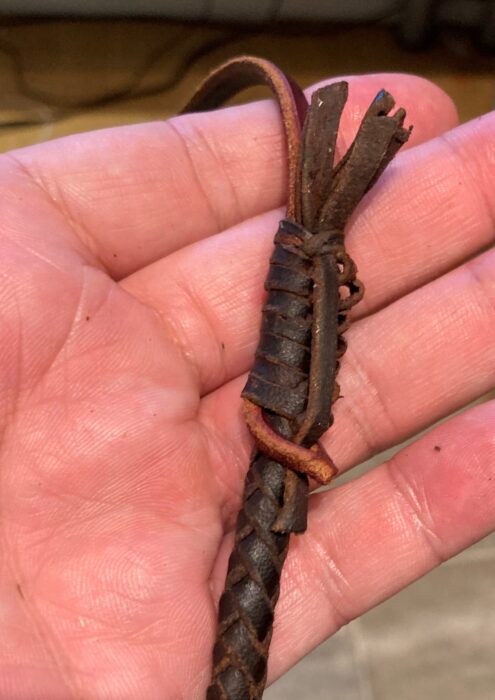
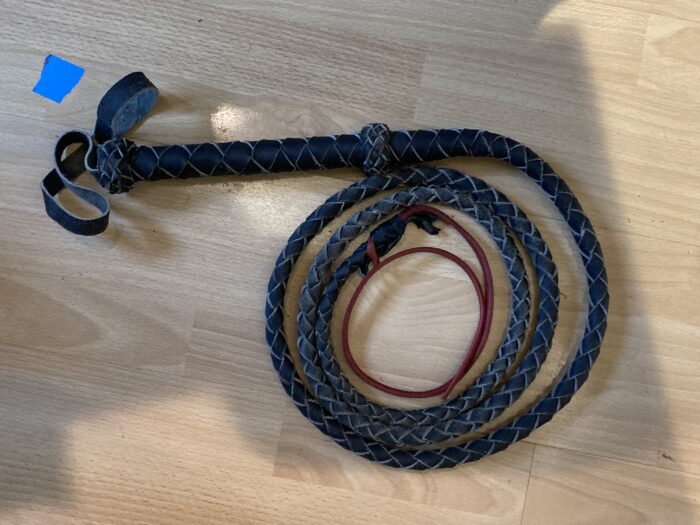
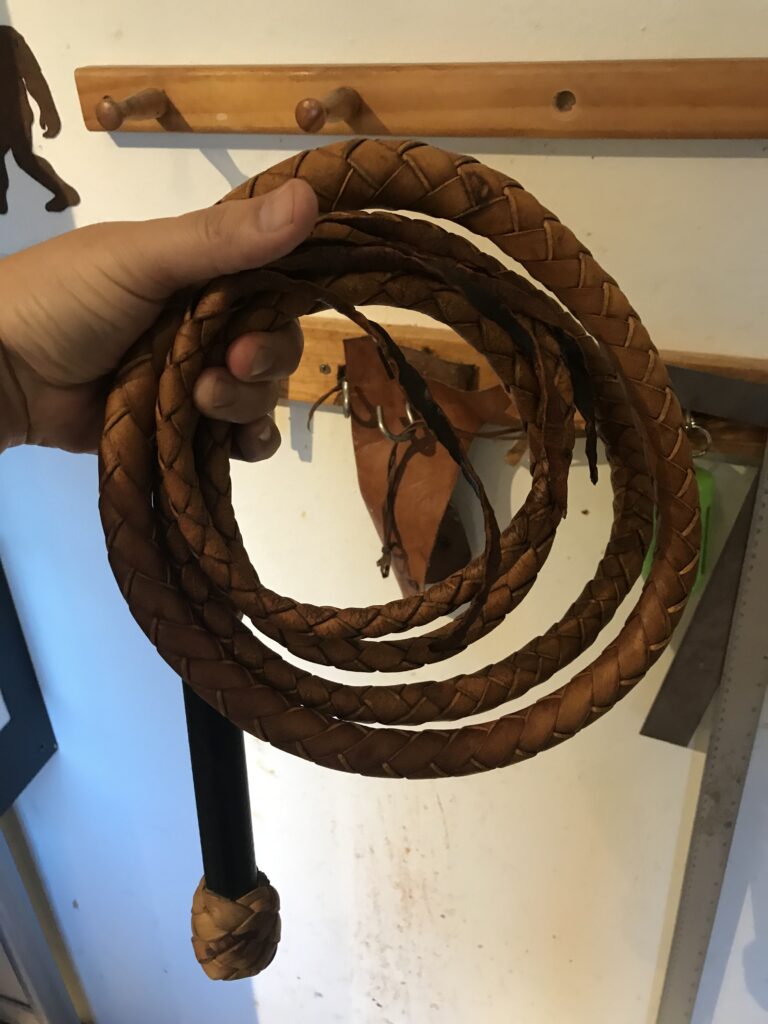
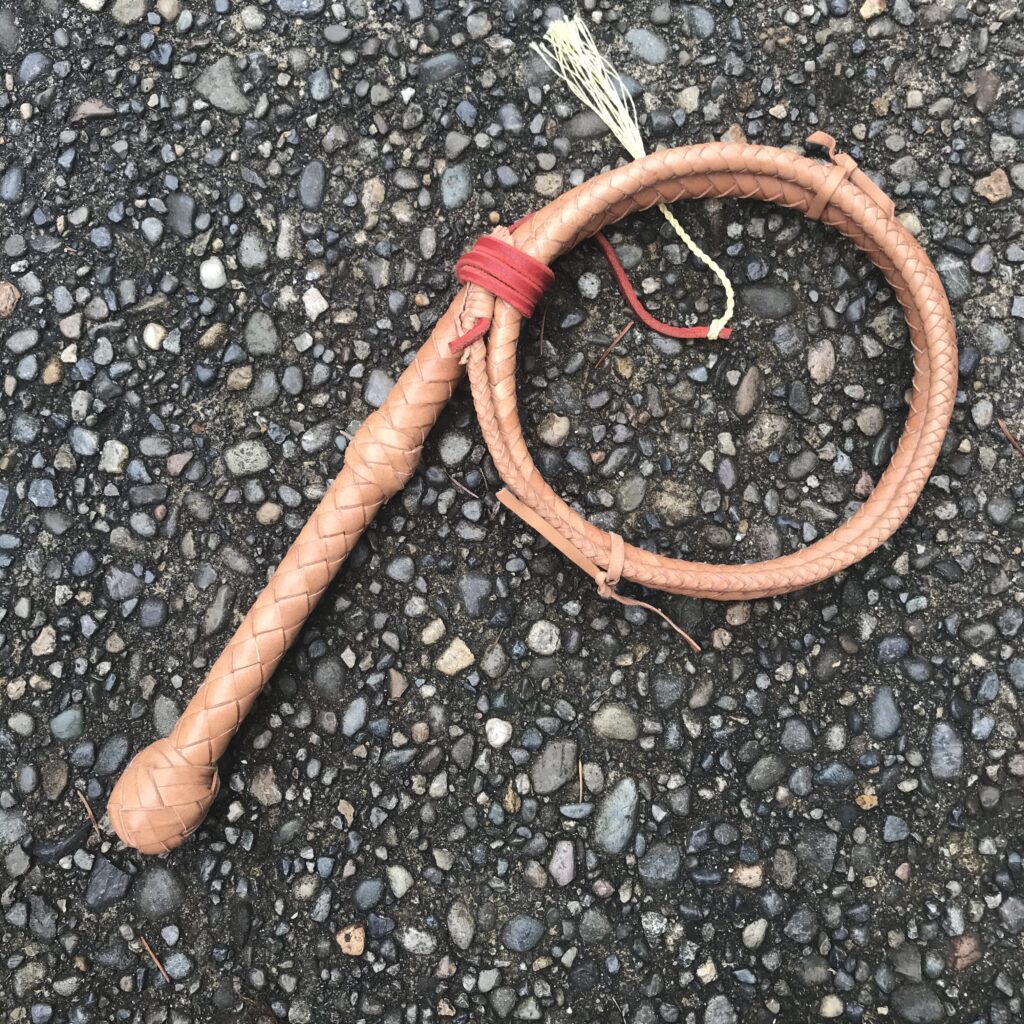
It must be the season for fixing whips, here’s a swivel handle bullwhip that needs it’s point replaited and a new fall.
I’m pretty familiar with this whip, well not this exact whip, but this style. It’s the same as the very first whip I ever bought. Originally it would have had the shorter and wider Texas style fall, after talking with it’s owner we decided to go with the more modern Aussie style fall.
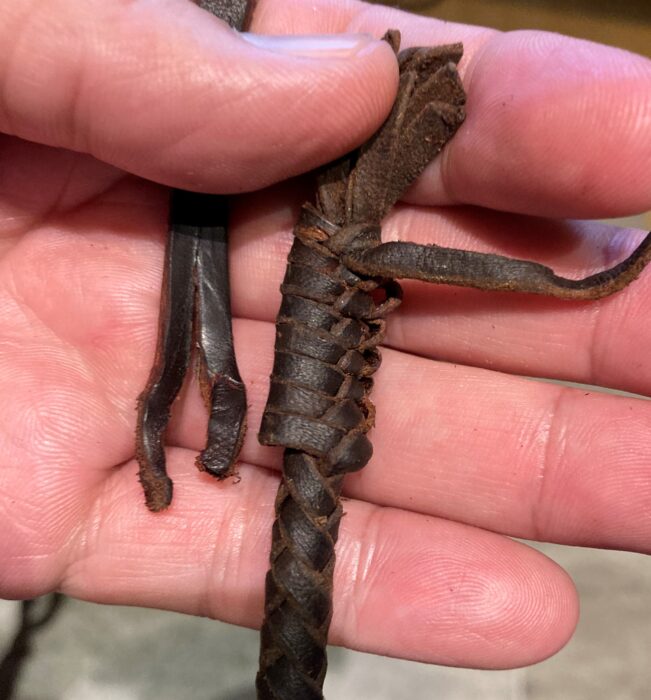
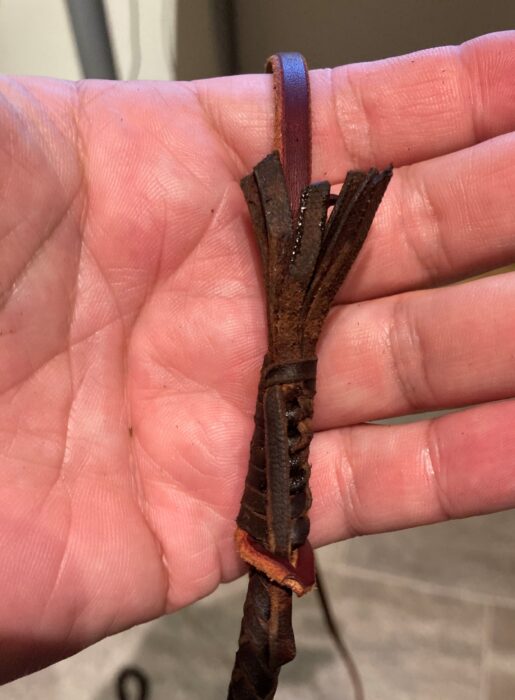
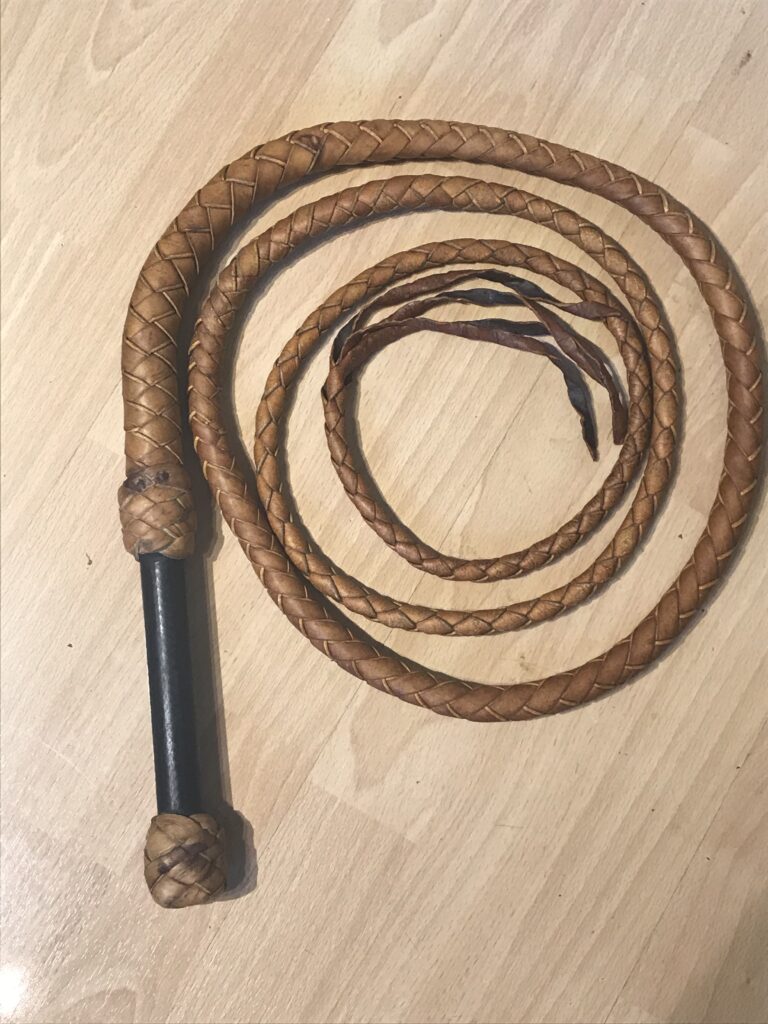
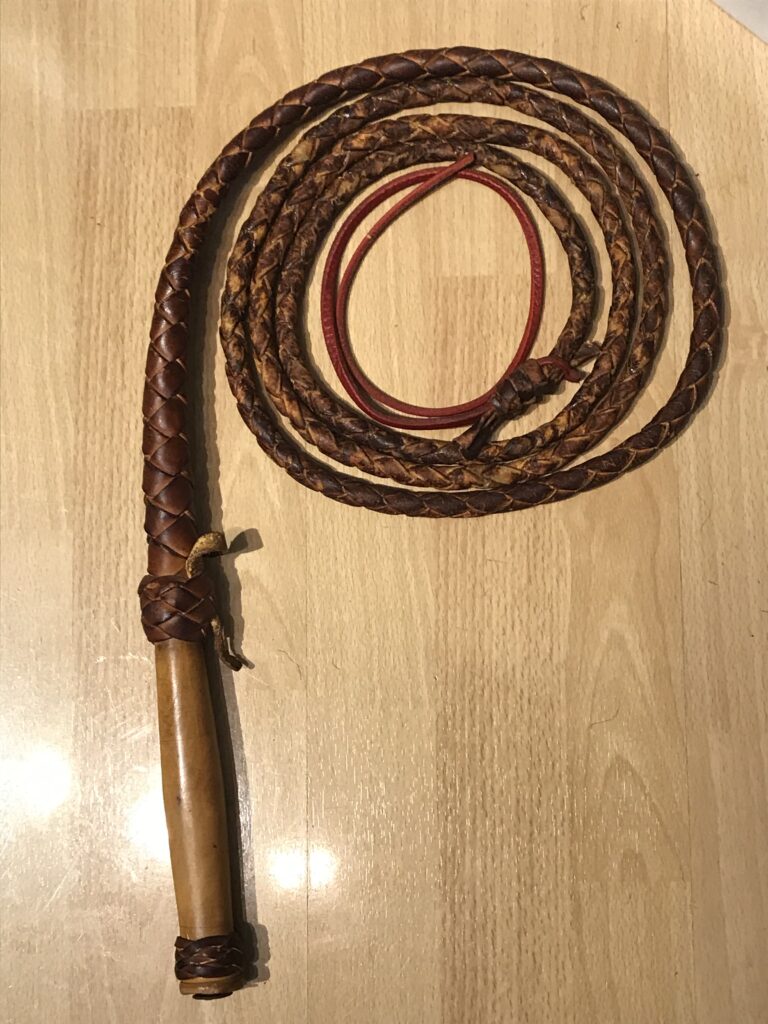
This wood handle bullwhip recently came in for a repair. Besides being coiled up way too tightly and very dry, it needed the point to be replaited and a new fall put on.
On a little side note, please do not store your whips coiled up like this. For a well made whip, coiling it tightly like this may put some memory into the whip causing it to be less accurate and puts unnecessary stress onto the lash.
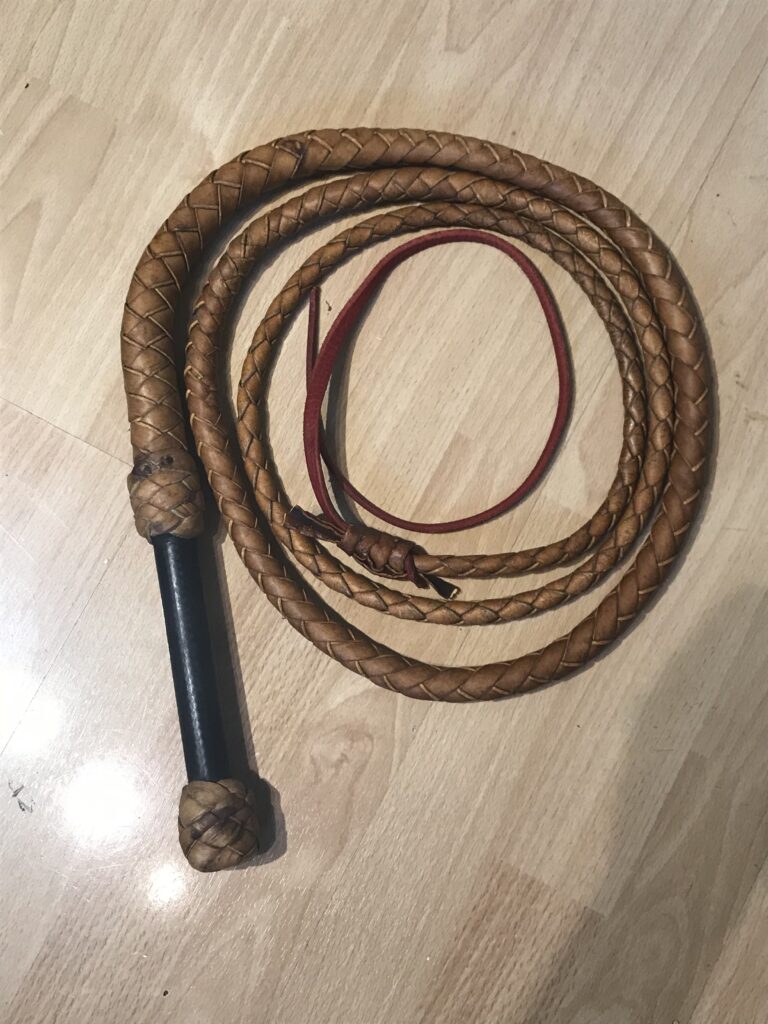
I coated it with some Pecard Leather Dressing and let that soak in for a couple of days. Then I replaited the point and added a new redhide fall and the whip is good to go!
I offered to redo the transition knot, but the owner wanted to keep the original one. This is back in the mail today, and has a lot more whip cracking life in it!