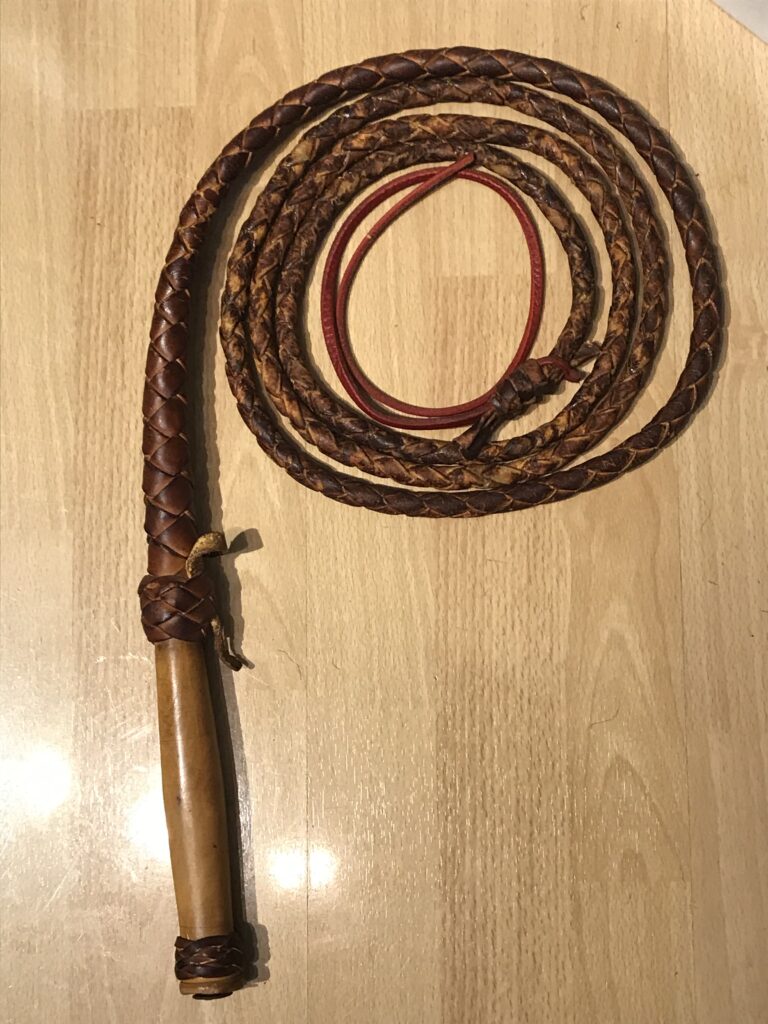
Redhide Bullwhip Falls

Today I’m cutting out a small batch of redhide falls
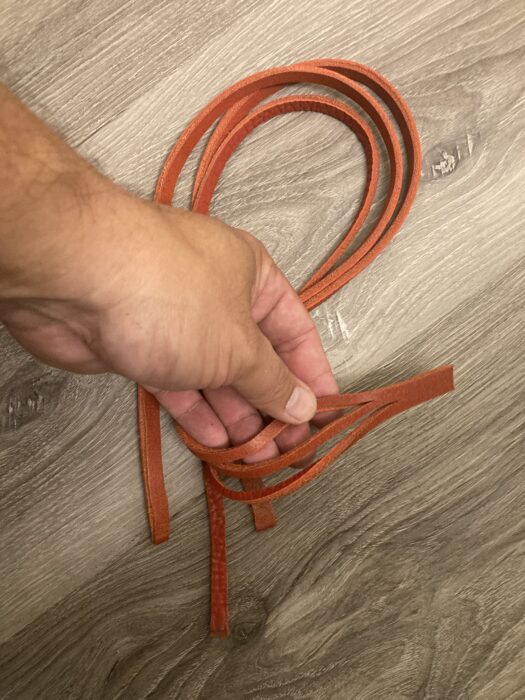
redhide bullwhip fall
work

Whenever I cut out falls, I do more than one as doing multiple isn’t much more work. I cut them out, but leave them attached at the narrow end. I first hang them by the narrow end and pare the top left and bottom right corners. Then I cut the end off so they are all separate and hang them from the wide end. I then pare the top left and bottom right corners, to “knock off” all the corners.

I came up with this technique for another whip maker whose paring abilities to do the top right and bottom left weren’t as good at their top left and bottom right skills. While I can do it both ways, I still pare mine this way.

-Louie
Wood Handle Bullwhip Repair

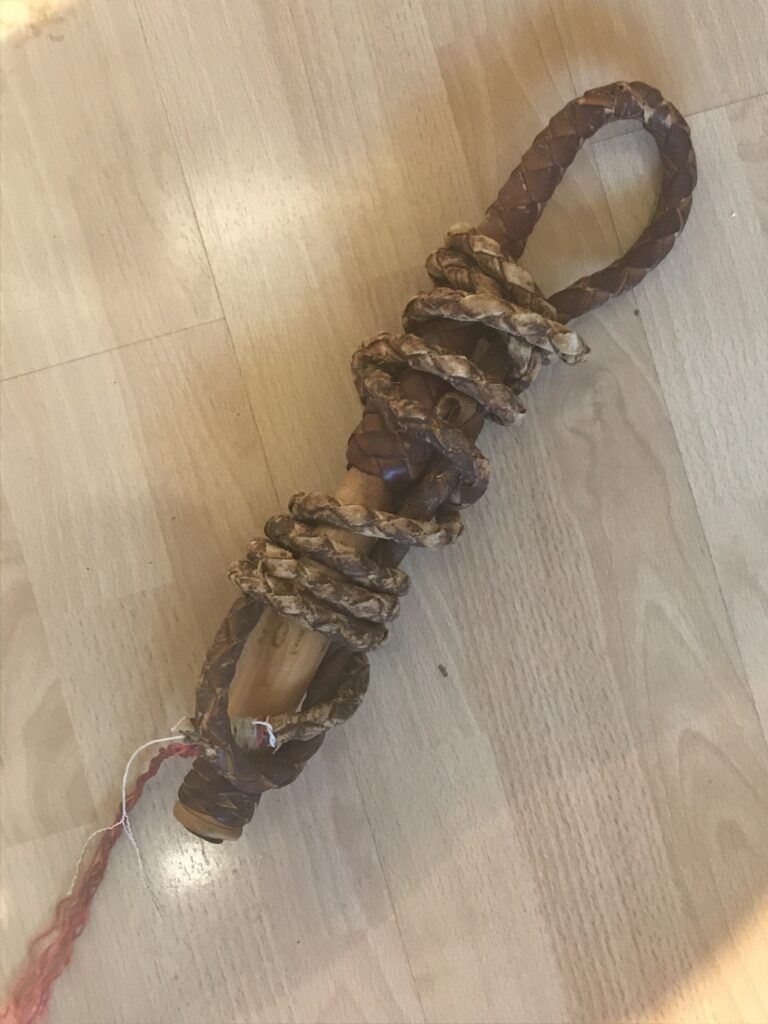
This wood handle bullwhip recently came in for a repair. Besides being coiled up way too tightly and very dry, it needed the point to be replaited and a new fall put on.

On a little side note, please do not store your whips coiled up like this. For a well made whip, coiling it tightly like this may put some memory into the whip causing it to be less accurate and puts unnecessary stress onto the lash.

I coated it with some Pecard Leather Dressing and let that soak in for a couple of days. Then I replaited the point and added a new redhide fall and the whip is good to go!

I offered to redo the transition knot, but the owner wanted to keep the original one. This is back in the mail today, and has a lot more whip cracking life in it!

-Louie